Archives for category: Art Education

DSC01110As a teacher of professional development art courses for the past 17 years, I’ve noticed one consistent truth: teachers are reluctant to teach art because they are afraid. Afraid that to effectively teach art, they must “perform” artistically in some way for their students. They repeatedly tell me things like, “I can’t draw” and “I’m not an artist”. My message to them is twofold. First of all, experience has shown me that everyone is creative to some degree — we all just have different levels of art experience and exposure. Secondly, and perhaps most importantly, a teacher doesn’t need to be a trained artist, or to be able to draw, in order to present successful, meaningful, and powerful art lessons in their classroom. In fact, I would argue that the most important thing a teacher needs to be when teaching art, is what I would call a “monitor/motivator”, and one of the most profound phrases in the motivator’s toolkit is, “take another look”.

Just as adults can be intimidated by art, so too are the students we teach. It’s no surprise that the higher up in grade level one looks, the more fear and trepidation one will see in the students. This is where the power of the “monitor/motivator” role comes in. By closely monitoring your students as they work on any given art experience, you will be able to support and motivate them as needed, helping to build their confidence. Actively move around the room offering constructive, encouraging words and comments while you closely look at what they are working to create. When students ask for help and want you to solve an art problem for them, resist the urge to do so and suggest that they “take another look”. Ask questions that will encourage their thinking and analysis of their own work, and of the problem at hand. This is critical thinking made manifest.

Because of a limited exposure to art among other things, students often think they are finished with an art making experience long before they really are. This is the crucial point where you can acknowledge what they’ve already accomplished by saying something like, “That’s a really great start!” and then offer the empowering questions, “What else can you do here? Take another look… what else can you explore?” This suggestion to “take another look” lets the student know that there is still more to see and to do, and that your expectation is that they will continue to search for it. You are challenging them to push past what might have been a quick, simple, and safe solution on their part, while letting them know that you have faith in their ability to go beyond it. As you consistently monitor and motivate your students during art experiences, you will see your students look to you for answers less and less, as they begin to trust themselves more and more.

As Maria Montessori once observed, “The children are now working as if I did not exist.” Helping your students develop into inquisitive, self-directed, life-long learners is possible, and connecting meaningful, authentic art experiences to your curriculum can foster this development. Please click here to see the affordable, convenient, and self-paced professional development art courses I teach through Fresno Pacific University. (* No art experience needed or required!)

OLYMPUS DIGITAL CAMERAWhether art is one of many subjects that you teach in your classroom, or you teach in a dedicated art room, organization of your art supplies is a must. And what better time to get organized than spring?!

As one who has taught in both a multiple subject classroom, and in a high school art room, keeping my art supplies organized has made every lesson I’ve taught easier. Whether I’m pulling supplies out in preparation for a lesson, or taking a quick inventory to see what I need to replenish, keeping things in order has really paid off. My sister — a professional organizer! — likes to encourage her clients to think of their spaces as big containers, and then to think of breaking down the things stored within those spaces into smaller containers. This has helped me tremendously over the years both at home and at school.

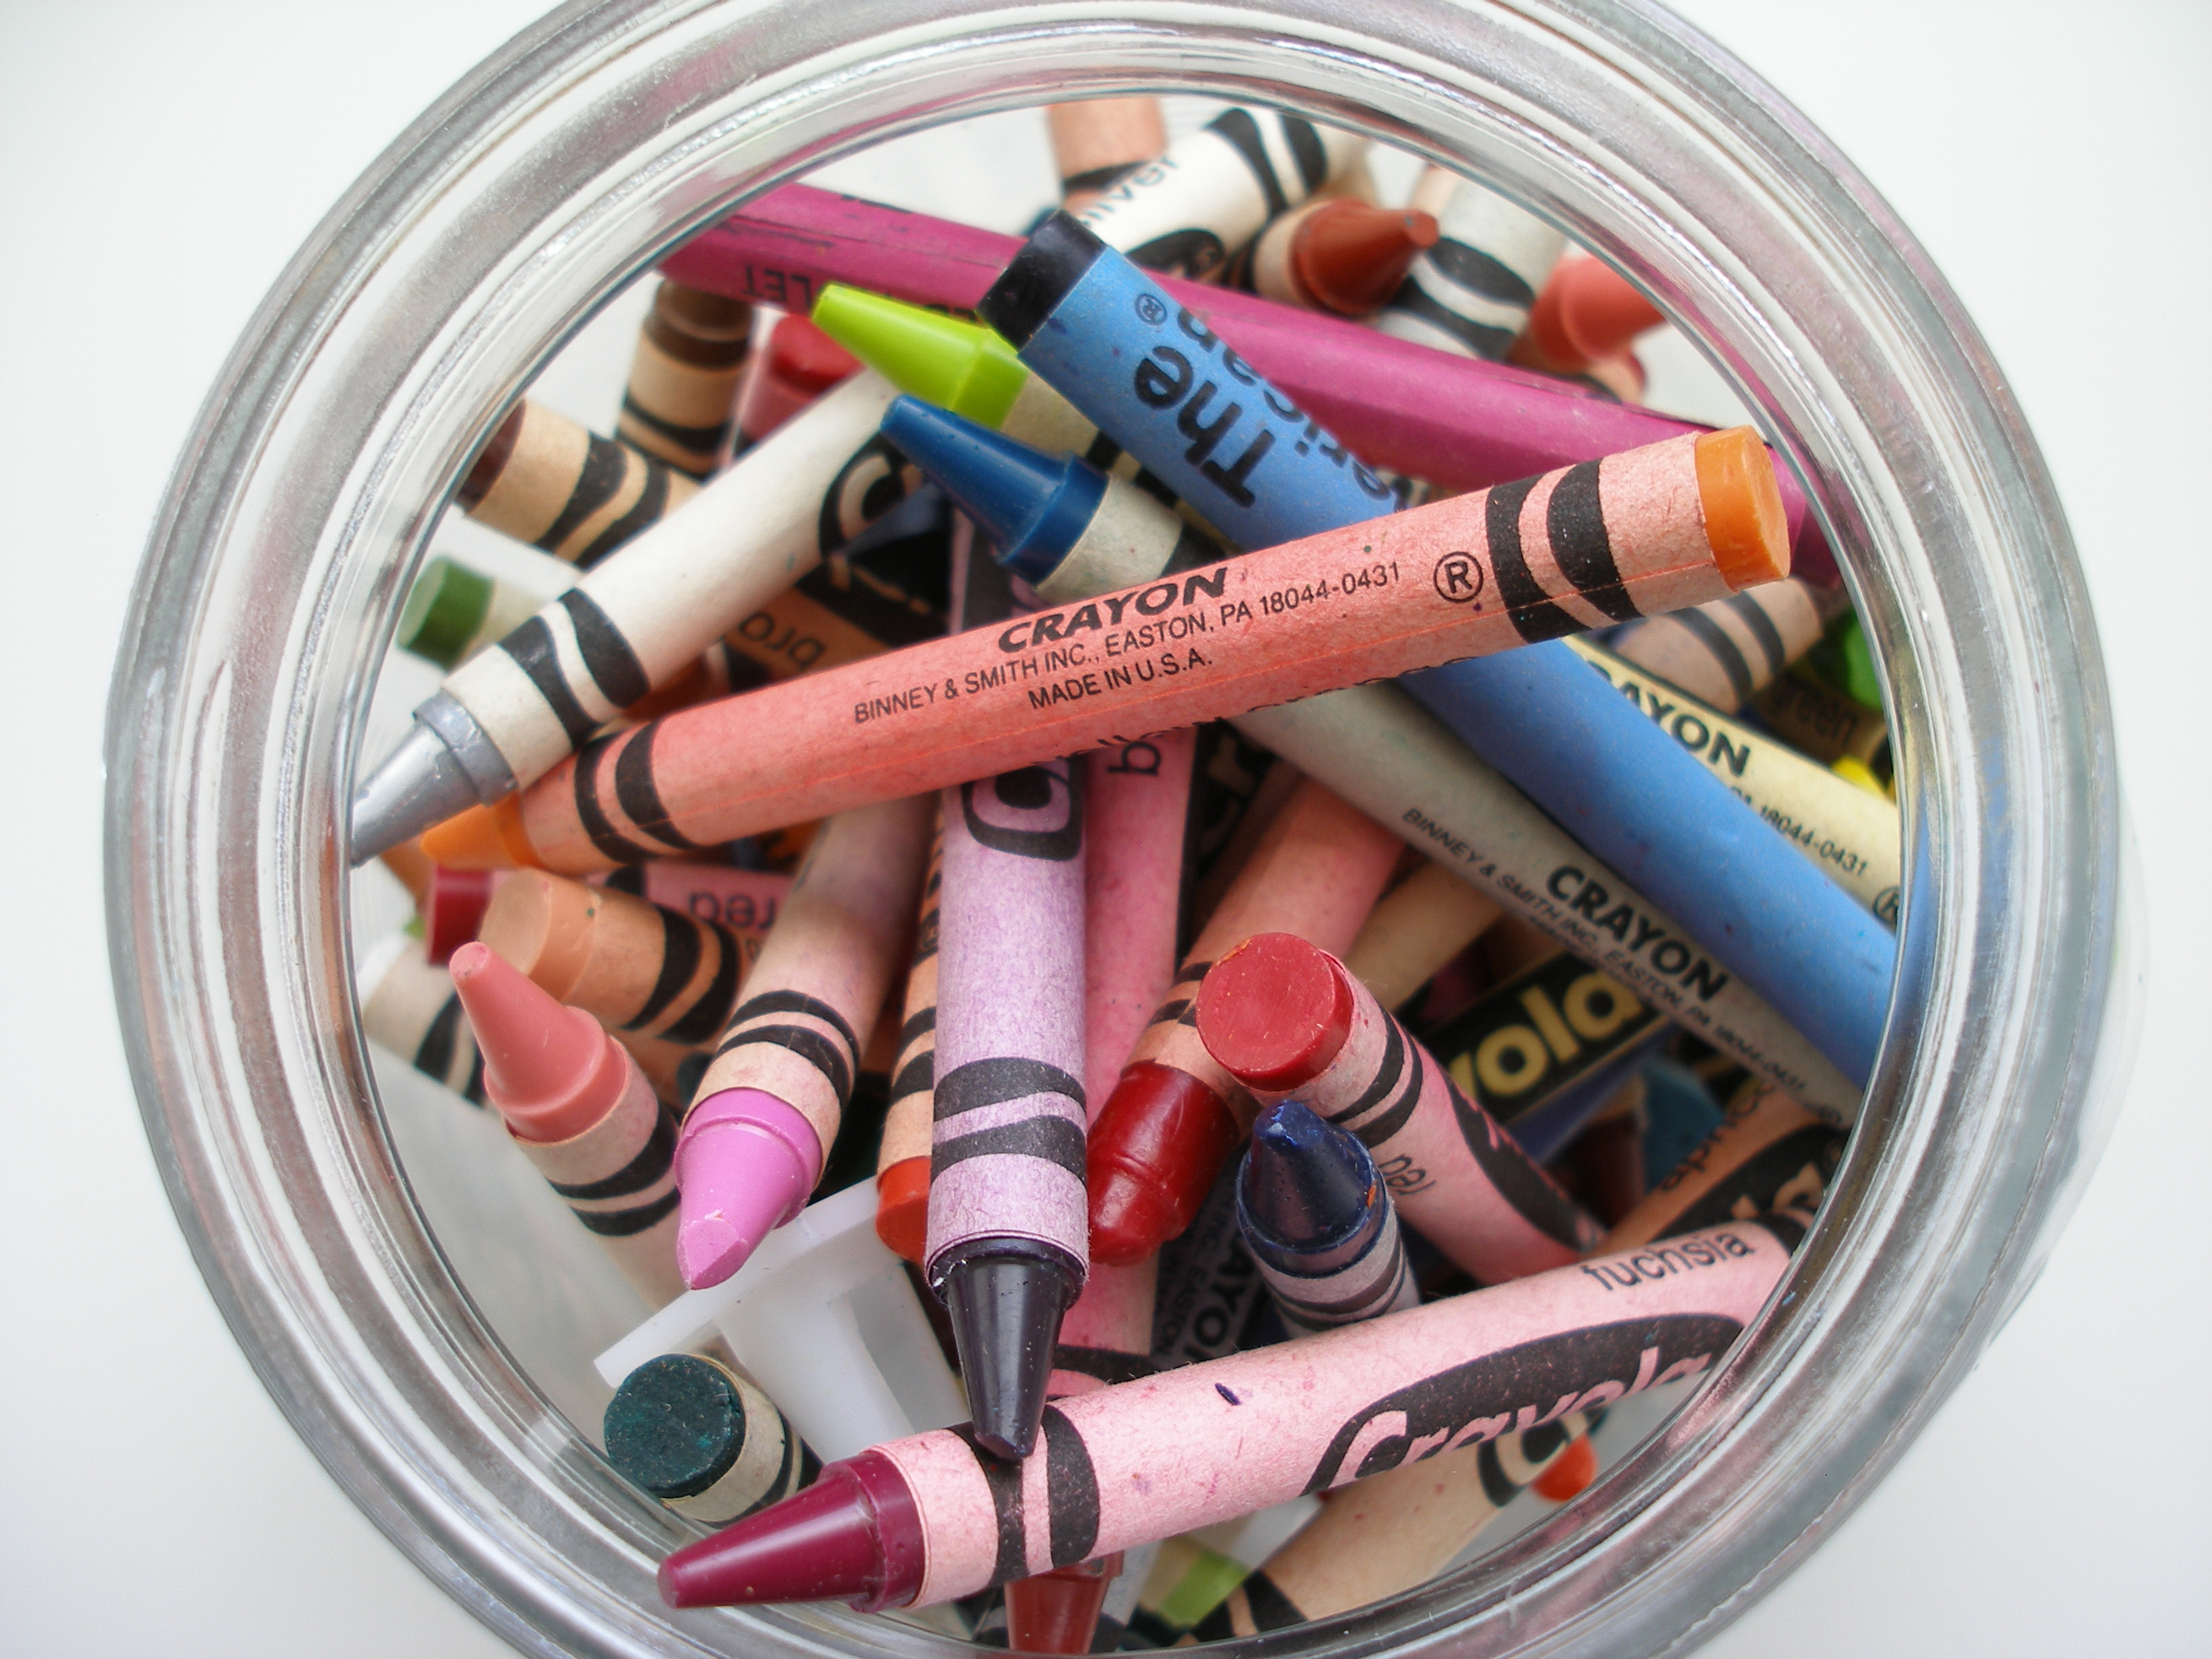
So let’s get down to business shall we? If your art supply organization is long overdue, I suggest you begin by pulling all of your art supplies out onto tables where you can see them. Gather like items together, such as all of your paint brushes, color pencils, crayons, and glue bottles. (As you do this, be sure to get rid of anything that is no longer usable.)

Once like supplies have been grouped together, I would suggest that you begin thinking about storage containers if you aren’t already using them. These don’t have to be anything fancy or new, just some sturdy containers that will hold your supplies. I also strongly encourage you to think about choosing containers that will serve “double duty” for you. For example, I use little stacking plastic drawers, 4 drawers to a “unit”. These can sit out or be placed in a cupboard, but the main thing is, they not only store things like crayons, color pencils, chalk and glue sticks, but they can also be carried to work tables and desks for the students to work out of. When the work session is over, the supplies go back in the drawers, and the drawers go back into the little “unit” that holds them. As simple as that. Again, nothing fancy or expensive, but highly functional. When smaller art supplies have been “containerized”, you can begin placing things back into cupboards and cabinets in any way that makes sense for you. The beauty of this time that you’ve invested is that now when you need glue, you know right where ALL of your glue is. Crayons? Just pull out some containers and you’re ready to go!

Here are a few other quick and easy storage tips that might work for you. Three coffee cans hold my paint brushes — handles down, brush tips up — roughly separated into small, medium and large sizes. I’ve also found that storing construction paper on edge vertically, makes it easy to pull out what I need, and put back what I don’t, without unstacking everything. (They look like very colorful little book spines.) If you place them in order (ROYGBIV: Red, orange, yellow, green, blue, indigo, violet) they look beautiful too! This type of construction paper “filing” also makes it easy to see when you are running low on a particular color. Having some sort of scrap paper box is also important for gathering up any usable bits of paper that are too big to be thrown away.

Scissors can present their own unique storage problems. When I taught first grade, our scissors were all kept one of the storage drawers mentioned above. Students knew where they were and took responsibility for getting them out and putting them away when they were finished with them. High school is a different situation. I needed them to be accessible to students, but I also needed to be able to account for every pair at the end of each class period. The solution was to hang the scissors up on nails. The students could easily get a pair if they needed one, and at the end of each class, I could glance at those nails from anywhere in the room and see if all of the scissors had been returned to their place. (The class was NOT excused to leave until all scissors were accounted for and my students knew it.) Very effective.

I’m a big fan of encouraging students’ independence, and the more organizational systems you establish and teach to your students, the more independent they can be. When materials need to be put away, everyone knows where things are supposed to go, and so everyone can help pitch in to get things picked up. For this reason, I would also suggest that you gather some all-purpose containers that can be used for different things during projects, but not necessarily be used for long term storage. For example, I would suggest 3 or 4 round, metal cake pans, and maybe a few rectangular pans as well. These are great when you need to set out things like cotton balls, beads, buttons, and brads for the students to use. During an art experience, my students are able to help themselves to whatever they need, and return items they don’t need for others to use. When the project is over, I then return those items to their long term storage, and the pans are ready to go for the next art experience. A few scotch tape dispensers, a stapler, and masking tape rolls tied to something are also a good idea. (Tying the masking tape rolls to something simply means they’re always where they’re supposed to be.) I also like to keep two stacked paper trays out and accessible for the students — one filled with blank, white copy paper, and another filled with newsprint paper. This is great for a variety of things including quick sketches and notes.

Finally, I’ve listed a few items that I’ve found to be invaluable over the years and that I always keep on hand for art experiences. Small paper cups can be purchased in bulk at restaurant supply stores and can be “pulled open” so that they almost lay flat and can be used as mini paint pallets, as well as a place to hold a small amount of glue. When left in cup form, they are great for holding small items such as beads and brads while students are working. Paper plates, plastic tubs for water, disposable gloves, baby wipes, paper towels, and old men’s shirts (to cover up when things get messy). If you do anything like papier mache, having a “dedicated” small plastic bucket (like one that might hold ice cream), a plastic ladle, and plastic plates are a great idea. The bucket can be used to mix your papier mache, and you can ladle it out onto plastic plates for students as they need it. Plates can then be thrown away at the end of the art experience.

Once you’ve invested a little time and energy getting your art supplies in order, you’ll discover how much easier and more fun it is to plan and then implement exciting, successful art lessons for your students. You may just find yourself connecting art to lots of lessons, because your spring cleaning and organizing has made it so much more convenient! If you have any tips you’d like to share, I’d love it if you’d join the conversation and leave a comment on this post.

IMG_1688In my last post, I talked about the importance of having images available to your students for use as visual references when having the real thing in front of them just isn’t possible or practical. Today I’d like to help four lucky people get started on the creation of their own image files by giving away some beautiful National Audubon Society field guide books. (These books are brand new and cost about $20 each.) Each of these books is full of gorgeous, full color photographs that will make excellent reference images for any artist. Each book is focused on a different subject group — one for reptiles & amphibians, one for mammals, another entitled fishes, and finally one for insects & spiders. The pages measure about 3.5 X 7.5 inches, so if you tear them out as I suggested in my blog post, they will fit neatly into a file folder for easy retrieval and distribution later.

If you’d like to receive one of these spectacular National Aububon Society field guides, just leave a comment on this blog post. The first 4 people to leave me a comment by Wednesday, February 20, 2013, by 5 p.m. (PST) will each get one free book. (Subject of the books vary and cannot be specified by the recipient. One comment/entry per person, please.)

And teachers… don’t forget that spring break will be here before you know it. Plan your professional development now by checking out my affordable and convenient art courses offered through Fresno Pacific University. Registration is always open for these distance learning courses — you can view all of my course listings here. No art experience? No Problem! My courses were written specifically with YOU in mind! Imagine yourself completing the units you need on your schedule, from the comfort of your own home. I’d love to see you in class!

IMG_1679For many of us, creating something is much easier with some sort of visual reference. Whether we’re making a drawing, a painting, or a sculpture, having something in front of us to look at helps us get the details right. It helps us with things like proportion, texture, pattern, and color. Here are a few easy suggestions that will help you establish a valuable set of image files that your students can use again and again when they need a visual reference. Why the need for such files you ask? Well, if one is drawing a rose, for example, it’s not too difficult to simply bring one into the classroom. The same holds true for any number of fruits, vegetables, and small objects. But what if your students are trying to draw or sculpt say, an elephant, or a particular type of fish? Not so easy. Enter the image file.

My suggestion to you is that you create a series of files filled with photographs that your students can reference as needed. I want to be very specific here about saying that your images files should contain only photographs — not drawings or paintings of things. The problem with using drawings or paintings of things as a reference is that someone else has already made all of the decisions about color, line, texture, etc. When you have your students work from photographs, they must decide how to interpret the “reality” of that photo into their work. This involves a tremendous amount of observation and problem solving skills that are essential to student growth and learning.

For my own classroom files, I purchased some very inexpensive books of photographs of whatever I was looking for. (Yard sales can be a fantastic source!) Because having an entire classroom of students share one book is not practical, I simply tore the pages out of the books I collected. (As a lover of books, this was kind of hard to do at first, but I persevered and it worked so well, I never looked back.) I used hanging file folders to store these now single sheets of photos, and labeled them by category such as, insects, fish, mammals, reptiles, birds, flowers, etc. (Often these photos also have an accompanying paragraph about whatever is in the photo, which I find to be a real bonus as far as student learning is concerned.) Once these files are established, it’s simply a matter of pulling them out when you need them. So for example, if you’re working on an art project that involves reptiles, you simply bring out the reptile file and you’re all set. If only one topic is being used, I simply spread out that file’s contents on a table for students to peruse. If we’re using multiple subjects, I place the files we’re using in a small hanging file container someplace where the students can look through them.

When I initially set up my image files, the internet was not something we had access to in classrooms. And while it might be tempting to let students search for images on the computer, I would advise against it. In my experience, students will make a selection from this type of photo file within a minute or two of looking over the photographs. How long do you imagine they might look on the internet…?

Trust me that after only a small initial investment of time and money on your part, you will end up with files that will serve you well for years. You won’t be able to imagine how you ever lived without them!

Need other ideas for great art experiences YOU can do in your classroom or with your homeschooled kids? Check out my affordable and convenient professional development courses here. You can register at any time for my distance learning classes, and best of all, you complete them on your schedule. I hope to “see” you in class soon!

IMG_1659What better way to show we love the earth, than by creating some gorgeous Valentine’s Day inspired art work that encourages recycling as well?! Enter “Giant Stuffed Paper Hearts”.

The materials for this spectacular art experience are outrageously simple. You will need butcher paper, “stuffing”, a stapler, any sort of decorative materials, glue, and string or fishing line. (If you have access to butcher paper in “Valentine” colors like pink, red, and purple, that’s great. If not, white and even black will work just as well.)

The idea here is that you are going to have your students cut giant — and I do mean giant — hearts out of butcher paper, decorate them, stuff them, and then hang them from the ceiling. (If your school won’t allow you to hang anything, these could just as easily be stapled to a wall where they will still look puffy and three dimensional.)

While you could use anything for the stuffing of the heart, this experience presents a perfect opportunity to talk about things like recycling, and campus beautification. If you are so inclined, you and your students might walk around the school yard collecting trash and bits of paper. (Gloves might be a good idea here.) Or maybe you could use paper from your own classroom that would normally be thrown in the trash? Newspapers collected from home work well here too. The point is, this art experience is tangible evidence that trash can be transformed again into something else — in this case, into something beautiful.

When cutting out their paper hearts, each child will need two hearts exactly alike, so you can show them how putting two pieces of paper together and cutting them out at the same time will accomplish this. (An alternative to this would be to have them cut out one giant heart, then trace that on to their second piece of butcher paper and then cut that one out.) Depending on how involved you want them to get, and on how you plan to display them, you can instruct your students to decorate only one side of one of their hearts, or one side of each of their hearts. I would really let them go wild here with lots and lots of different decorative materials. Things like paint, construction paper, tissue paper, crepe paper, glitter, lace, ribbons, yarn, buttons, cotton, etc. would all be super fun for the kids to work with. (Because the hearts are large, I would probably not put out any drawing tools for this one, as any drawing the children might do would tend to be small, and the surface decoration for these should really be bold and large.)

Once all surface decorations are finished and have been allowed to dry, place the two hearts together and begin stapling around the edge to connect them. (Staple at least one inch or so in from the edge.) Remember that if you had students decorate two sides, make sure each of those decorated sides face out, and that the plain sides are on the “inside”. After you’ve stapled about half way around the hearts, you may begin stuffing the heart with very loosely crumpled paper or trash. You want to keep these hearts very light, so there’s no need to stuff them full of tightly wadded paper. Use just enough lightly crumpled paper to “fill out” the heart and give it a puffy shape. Finish stapling the remainder of the edge to close the heart, and you’re done. The resulting hearts should be very light, so it will be easy to hang them from your ceiling if you choose to do so. Don’t worry about hanging them at the same height, because hanging them at different heights adds to the fun. You will be amazed at the magnificent display these create and your students will love them!

Share the love! If you decide to do this art experience with your students, I’d love to see the results. Email photos to me at JGomasFaison@gmail.com and with your permission I might even share some of your photos on this blog. Happy heart-making!

IMG_1435As we all start this bright new year full of fresh hopes and dreams, my wish for you is that 2013 is a year filled with art. Whether you make art yourself, teach art to your students, or appreciate the art of others, make the time to enjoy the pleasures that an art-filled life has to offer. I promise you won’t be disappointed. Happy New Year!

If you’d like to incorporate some art into your classroom but don’t know where to begin, check out the classes I offer here through Fresno Pacific University. My distance learning classes are affordable, convenient, and flexible.

IMG_1468Here’s a lesson idea that will create a fun, fresh, whimsical look for  your classroom or school this January. Consider the exciting possibility of having your students make REALLY BIG snow people and/or animals! There are lots of options for this lesson, from having your students make life-size snow people that they decorate to look like themselves, to having them create large snow people that they decorate to represent characters from literature or historical figures, or perhaps instead they make snow animals that represent real animals you might be studying in your classroom. You decide how “connected” to your curriculum you want this to be. No matter which way you go, you’re sure to get a wonderful cast of winter characters!

Materials are simple: white butcher paper, construction paper in a variety of colors, paper scraps, fabric and other miscellaneous materials you might have on hand such as cotton, glitter, twigs, wrapping paper, glue, tape, and scissors.

You will have pre-determined the “theme” of the snow people/animals for your class, so talk to your students about what they will be doing. (Obviously, everyone should be working on the same theme, i.e. all will be making themselves, or all will be making a favorite character from literature, etc.)

Talk with them about why tearing out the circles for their snow people (or animals) is a better approach than cutting out the circles. (Tearing produces a more “snow-like” texture.) Have them tear large ball-like shapes out of white butcher paper. To help ensure that all finished snow people are about the same size, it might be a good idea to have large, pre-cut squares to give to the children — each child getting a large, medium, and a small square. If they carefully tear so that they “touch” each side (or edge) of their square, their finished snow people (or animals) should end up being similarly sized. (They don’t have to be identical to each other, just similar. You don’t want one 6 inch tall snow person, and one that is 3 feet tall.) It would be a great idea to have several extra large, medium, and small squares cut out, just in case someone needs to start again. (Someone probably will… and that’s ok.)

Let me stop here and say that for some of you it might be tempting to make one of these yourself and then show it as a sample to your students. There is no need for you to do that. I would suggest instead, demonstrate what careful paper tearing looks like by beginning to tear a large circle out of one of the pre-cut squares like you will be asking them to do. Show them how to “touch” each side (or edge) of their square, using their whole paper. This is all they need to see — they DO NOT need to see a finished snow person or animal in order to make one themselves.

Once the basic snow people or animals have been established, have them cut or tear all of the features they want to use such as eyes, nose, mouth, glasses, braces, mustaches, etc. that will enhance the snow person’s identity. These should be glued to the snow person’s head. After the three graduated body parts have been glued or taped together, your students might want to add special decorations like a hat or scarf. Depending on the “theme” you’ve chosen, consider if any other “accessories” or items need to be created and added to further determine the snow person’s identity. Any “extra” materials you’ve gathered for the children to use will come in handy here, such as fabric, glitter, cotton, twigs, etc.

These large creations would look fantastic in your classroom, but don’t let a lack of display space stop you. Because they are so large, they make a wonderful display along a hallway, in the office, library, or cafeteria. If you’ve chosen a theme that connects with an area of your curriculum, perhaps a bit of writing by each student could be included about the character, historical figure or animal represented.

I’d love to see your display if you have your students make these. Please email photos to JGomasFaison@gmail.com with “Big Snow People” in the subject line. Enjoy!

IMG_1446Just in time for the new year, here’s a lesson idea that’s sure to delight you and your students! Called “Winter Village”, this lesson will create a wonderful group display while it reinforces the concept of geometric shapes.

The materials required are simple: construction paper in a variety of colors (whole sheets and scraps both work well), any drawing tools you have on hand (crayons, markers, color pencils), tape and/or glue sticks, and scissors.

Talk with your students about geometric shapes and tell them that they are each going to “build” their own home, cabin, or castle using just these shapes. Their buildings may be realistic or imaginary, but they must use geometric shapes to construct them. Consider having your students tape or glue their shapes down onto a background sheet of construction paper, which will enable their creations to “grow” with as many shapes as they want to use.

Together you can brainstorm a list of architectural details that make a building distinct, like windows, doors, shingles, addresses, steps, and shutters, as well as all of the different materials buildings can be made of such as bricks, cement, wood, metal, etc. Encourage your students to add these kinds of “textures” and details to their own dwellings using cut or torn paper, or any of the drawing tools you have supplied. For some extra fun, have each child place one of their school photos in one of the windows of their building!

An exciting way to display these once they are finished, is to cut away any background paper that is still showing, and then place all of their little houses on a “winter scene/landscape” bulletin board, thus creating a little winter village made up of all of your students’ buildings. They may want to add a few trees, street signs, and lamp posts around town to complete their village scene. A little torn paper “snow” on the roof tops would look fantastic too.

If you decide to create a winter village with your students, I’d love to see it! Please email photos to: JGomasFaison@gmail.com and please put “Winter Village” in the subject line.

Like the song says, “It’s the most wonderful time of the year!”. In so many ways, this wonderful season is especially beautiful, and I encourage you to take a few moments when you can, just to notice it. Really look around you right now. This time of year is heavy on the sparkle and glitter, the warm glow of candles, the riot of color, pattern, and texture. Savor it. Let your eyes just drink it all in. And while you’re at it, why not help your children and students notice this bounty of beauty as well? Amid all the hustle and bustle, show the children in your life how easy — and rewarding — it can be to just stop for a moment, take notice, and enjoy.

In the classroom, this type of “visual study” could be the jumping off point for some very meaningful writing, whether it be reflecting on past holidays, thinking about wishes for the future, or writing about what’s going on right now. Maybe it could be a piece of descriptive writing, filled with as many adjectives and details as possible. Observing something thoughtfully, and then drawing it as carefully and as accurately as possible, is also another worthwhile experience. (This is especially good for quieting down energized little ones while helping improve their focus too.)

Teachers: don’t forget that winter is the perfect time to sign up for professional development courses! The art classes I teach are affordable and convenient — and you have up to one year to finish your course work! Picture yourself… hot cocoa in hand, with warm slippers on your feet, earning 3 units of graduate credit in the cozy comfort of your own home… Click here to find out more.  🙂

Check out this excellent article about some schools in Oklahoma where the arts play an essential role in student instruction and learning. And guess what? Studies are showing that these students are outperforming their counterparts in schools not following this model of instruction within their district and state.

Go art go!