Archives for category: realistic drawing

IMG_2557
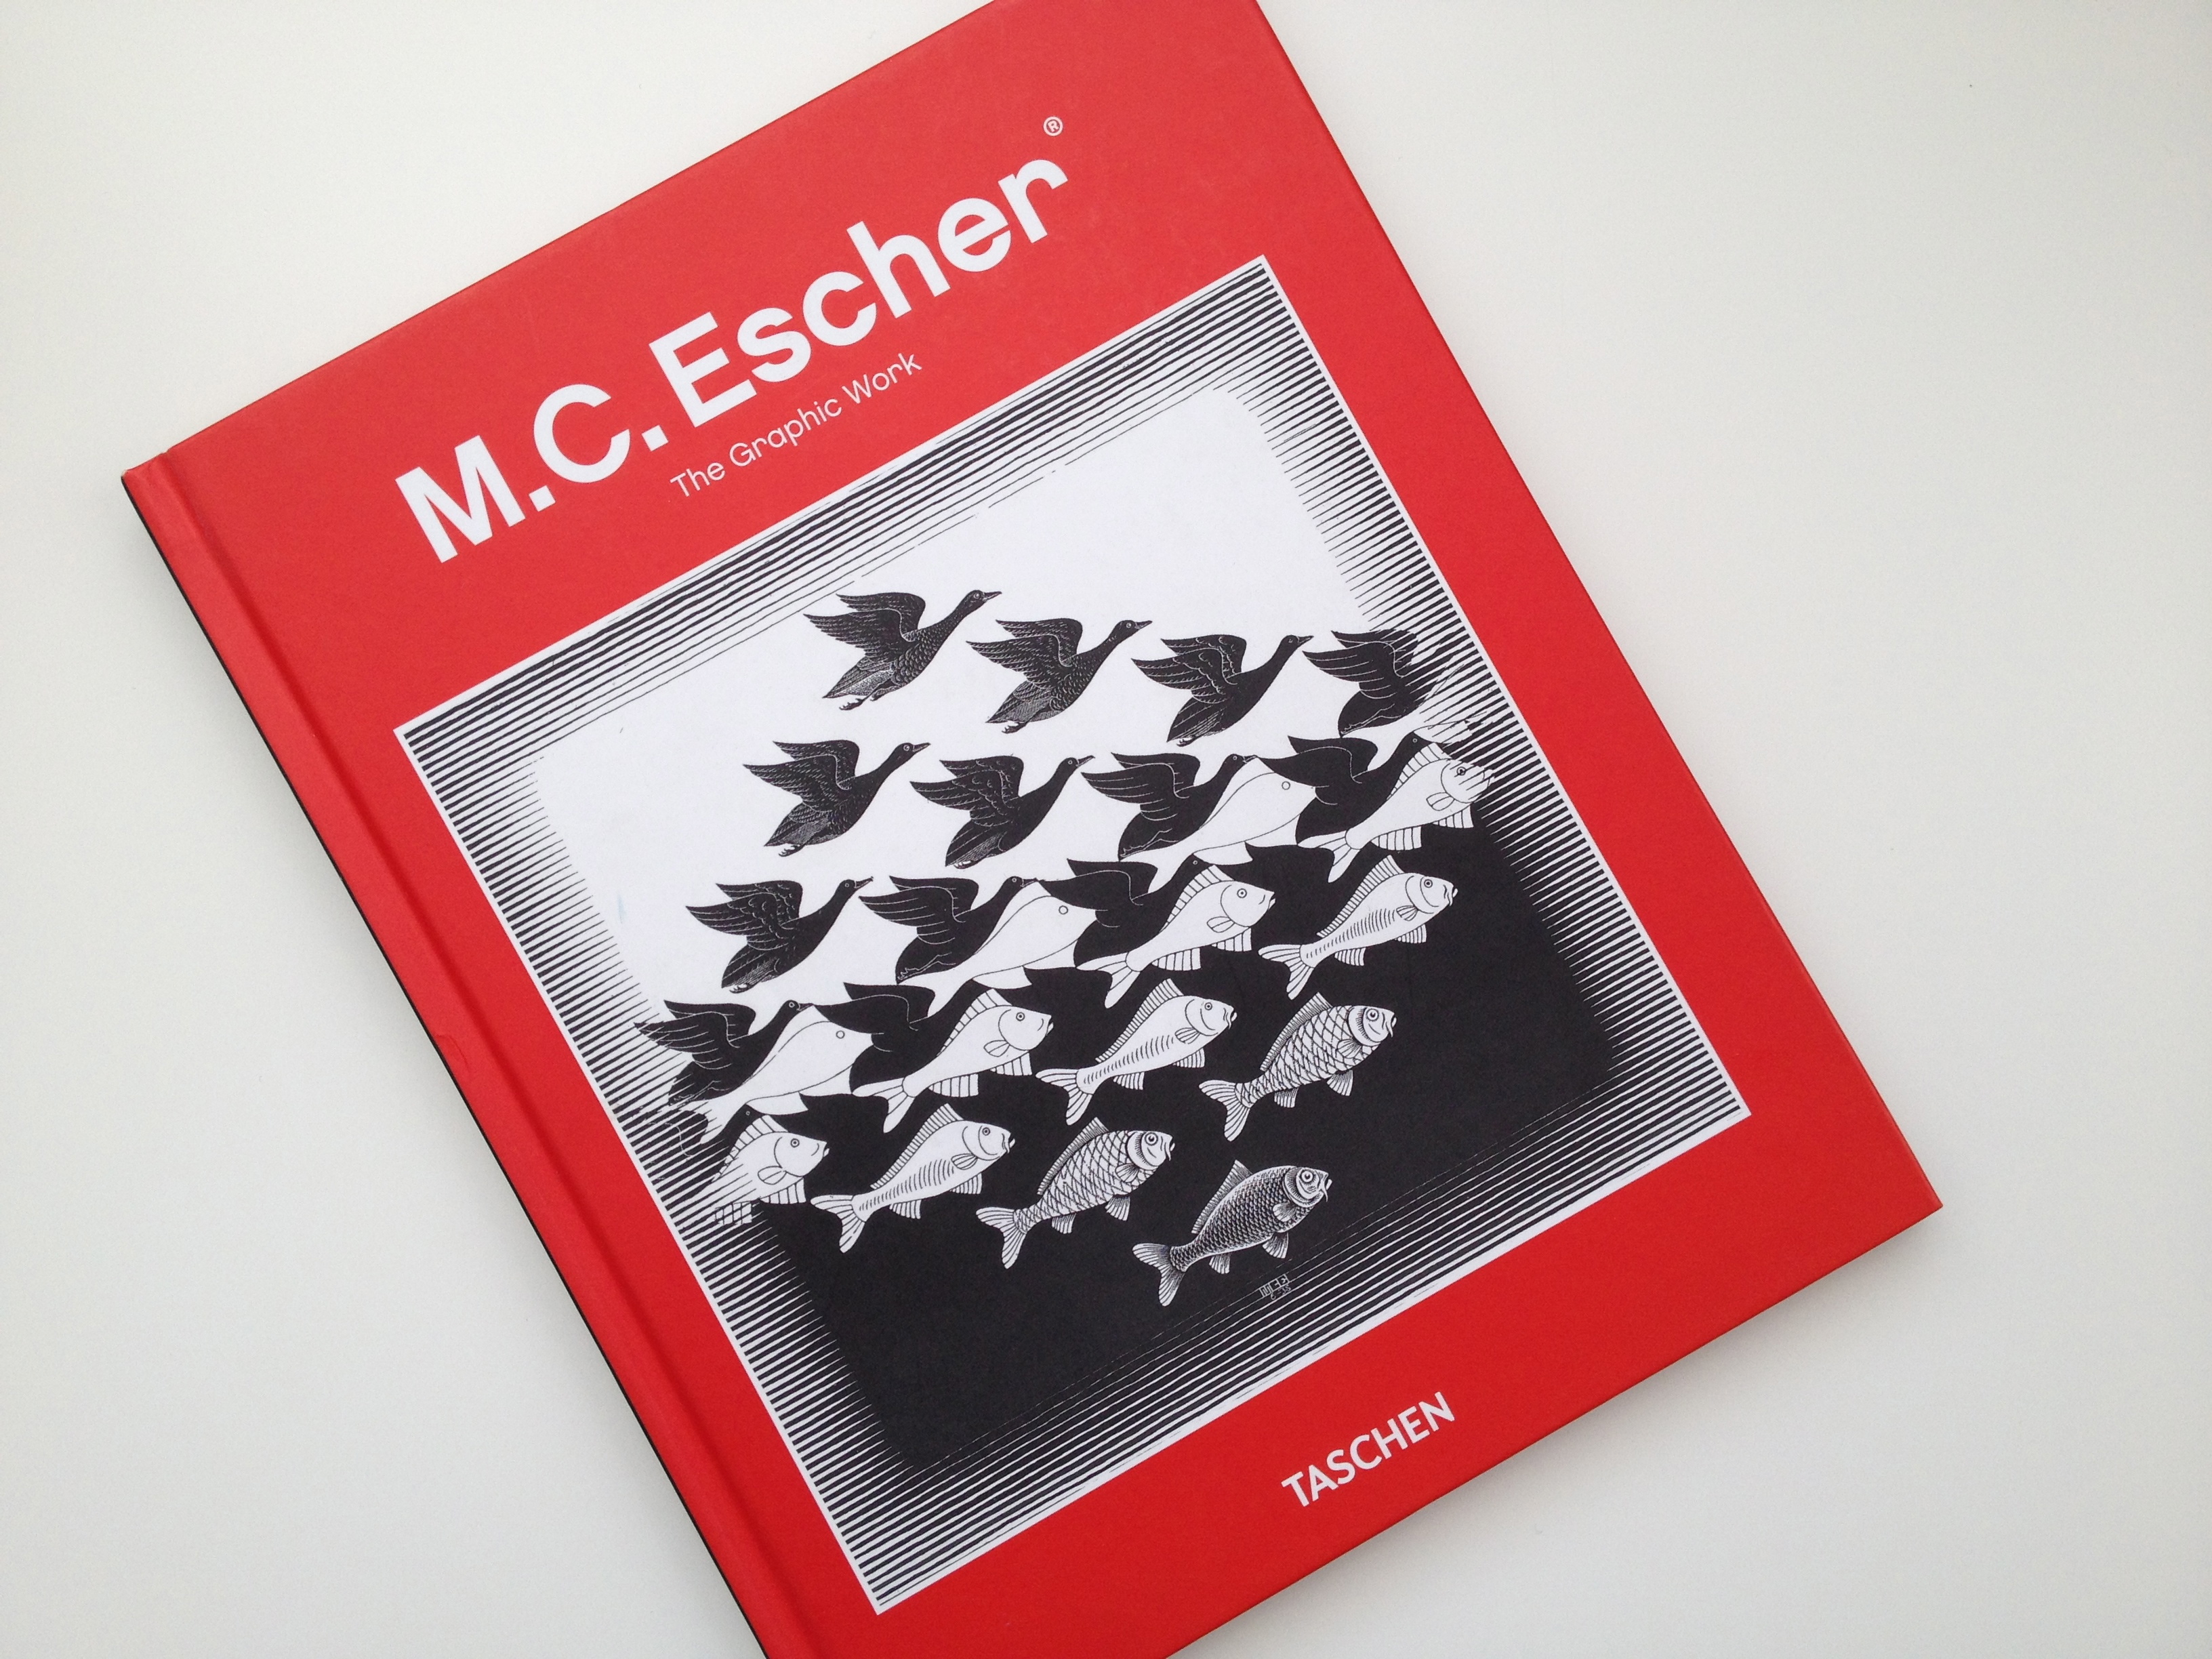
Hello February 2014!

I’d like to celebrate this month by “sharing the love” with an art book giveaway! (Who doesn’t LOVE something FREE?!) Simply leave a comment on this blog post, and you will be automatically entered to win one of two brand new copies of the book pictured above entitled, “M.C. Escher The Graphic Work”.

This book would make a terrific addition to any art library. Your students will be intrigued not only by Escher’s incredible imagination, but also by his impressive skill. Here are just a few images you will find in this wonderfully illustrated book.

IMG_2559

IMG_2558Comment on this post anytime between now and Friday, February 7, 2014 by 6 p.m. Pacific Standard Time, and you could win! I have two copies to give away, so two winners will be selected at random from the entries. (Winners will be notified by email so that I may obtain mailing addresses. Of course, I will cover the cost of mailing. It is, after all, a FREE giveaway, so winning will cost you nothing!)

And while you’re here… consider for just a moment whether or not you need any professional development credits. Or maybe you’d like some easy-to-implement art lesson ideas for your classroom? If either of these sound like you, please click here to see the affordable, convenient and self-paced professional development art classes I teach through Fresno Pacific University. (Absolutely no art experience is necessary or required!)

Thanks for stopping by, and good luck in the drawing for the books!

Advertisement

IMG_2355With the holiday season upon us, what better way to decorate your classroom, or another location at school, than by having your students make some festive, one-of-a-kind holiday streamers?! This idea can be used at any grade level, and materials can be as simple or as complex as you’d like them to be.

MATERIALS: You will pre-cut one long, thin strip of butcher paper for each child in your class, plus a few extras in case of any “disasters”. 🙂  A good size for these strips would be about 6 inches wide by about 5 or 6 feet long. Decide what materials you’d like them to use to decorate their banners. Depending on your time frame, the age and skill levels of your students, and how involved you want to get, materials can range from crayons only to things like, construction paper and glue, cotton, buttons, brads, tissue paper, and more. You might consider limiting their color choices, so that all designs will be created using red, green, and black for example.

MOTIVATION: Before distributing the banners and supplies, tell your students that they are each going to decorate their paper strip with a vertical (tall) design. This means that they will work from top to bottom and not from left to right as they usually do. Talk about all the possibilities for holiday images including things like designs, lettering, and symbols. Time spent brainstorming before you distribute supplies will pay off greatly once everyone gets to work. In fact, you might consider making a list of things during brainstorming, so that students have something to return to if they feel stuck. (Great language arts connection opportunity, too!) Be sure to stress that the decorations for these streamers need not only be “representational” art. (Art that looks like something.) Images of pure design (nonrepresentational art) can be fantastic here, too. (New vocabulary words!) This will help alleviate stress for those students who might be insecure about their drawing skills.

Once everyone starts working, you might get questions about how to draw this or that. The way I handle this is to “talk them through it” without solving it for them. Ask them questions about the thing they want to draw or represent, leading them to create something themselves. Depending on your students, you might make little pieces of scratch paper available, so they can work out some rough sketches before committing their idea to their banner. This kind of thinking and decision making is a vital part of any meaningful art experience and distinguishes it from merely being a “craft project”.

Once completed, the streamers can be suspended from a line stretched across your room or will even look spectacular if they are taped or stapled to the walls. If you don’t have space in your room for display, perhaps you might consider hanging them in the front office, library, hallway, or cafeteria? If time permits, invite students to describe their streamer decorations and talk about why they did what they did with the class. (Oral language!) Or perhaps you might have them write about their streamer decorations and their decision making during the creative process. (Written language!) If you really want to try something fun, consider introducing the idea of a “critique”. This teaches students how to be careful observers, and how to speak respectfully to each other about the work that has been done. A thoughtful critique also shows students how many other creative solutions there are to any given art problem. When the time comes for winter break, the streamers can be simply rolled up and held with a rubber band or paperclips to be taken home for family and friends to enjoy.

For more ready-to-use art lesson plans, consider registering for my affordable, convenient, self-paced classes here.

OLYMPUS DIGITAL CAMERA

I love this time of year! This season of magnificent color presents an exciting opportunity for students to notice and record what they observe happening around them. If your students aren’t already keeping “art journals”, I suggest that now is the time to have them start! You can read my earlier posts about the ease of setting up and using art journals here, here, and here. There’s also a post here about observational drawing that you might find helpful.

My proposal is simple. Have your students observe leaves, one at a time — over time — as they change colors throughout the fall. While many different approaches are possible, I would suggest that you begin by simply having them each select one leaf to bring into the classroom. For this first observation, I would encourage you to suggest that they look for leaves that are primarily green. You might say something like, “We’re going to go outside (to some specific area) and spend just a few minutes while you each find one green leaf to bring back inside our classroom.” This sets a few basic parameters as well as your expectations: A) we will all be staying in the same area together, and B) we will be spending a very short amount of time doing this.

Once back inside, the process of carefully observing their leaves can begin. (Having each student set his or her leaf on a small, pre-cut square of black or white construction paper will help simplify the background, and will make each leaf seem “special” as if on display.) I would not have any pencils or paper out at this time to help focus their attention on their leaves only, and on LOOKING. Oral language and sharing would be great here… what do they see? Students can share their observations with a neighbor. Perhaps you could make a list of class observations. Vocabulary words like line, form, shape, color, and texture can be introduced or reinforced.

When it’s time to draw, journals/paper, pencils, erasers, color pencils, crayons and anything else you might make available can be distributed and the drawing can begin. You might encourage your students to draw one large image, or perhaps you might encourage them to draw several smaller images — or “studies” — of the same leaf from different angles. (This is great for those students who always finish at light speed! Ask them to move their leaf and take another look at it from this different angle.) Most of all, encourage them to take their time, to slow down, and to really look at what makes their particular leaf special and unique. The trick to observational drawing is to actually draw what you see in front of you, not what you THINK you see. Every child in your class has seen a leaf, and generally knows what leaves look like, but today you want them to do the best drawing they can of the particular leaf that is right in front of them.

If you have the time and the inclination, you might attach a writing component to this activity, having students describe what they see, or perhaps how they felt looking at their leaf and trying to draw it, or maybe even compose a poem about it. This writing could be as structured or as “free form” as you want it to be. The writing and drawings can be shared aloud with a partner and/or with the class. Another idea is to have everyone leave their journal open on their desk (or their paper out) and everyone moves around the room doing a “journal walk” or “gallery walk” to enjoy everyone’s work. (If this type of activity is new for your students, you might need to spend some time talking about how important it is to value all efforts, and to stick to constructive comments.)

As you notice the leaves changing colors over the next several days or weeks, explore this same process all over again, but this time you will encourage your students to select leaves that are say, yellow. Maybe a few days or weeks after that, everyone will select red leaves. Reinforce for your students how amazing it is that while you are returning to the same area over and over again for leaves, they have changed color dramatically.

This simple, multi-step journaling practice can be repeated using a multitude of subjects, some of which include growing plants, trees budding out in the spring, or something rotting like a small piece of fruit — kids LOVE the gross-out factor of this last one! Once kids get the hang of what you expect from them out of this process, this type of drawing can even be something that your students can do independently like at a station or center, or perhaps when other work has been finished. When practiced frequently, observational drawing is so much more than an art exercise for students, but rather it becomes a thoughtful, meaningful way of viewing, thinking about, and of understanding their world.

IMG_1816In northern California where I live, May has arrived with an explosion of flowers. If this is true where you are too, why not take your students outside to enjoy some of nature’s splendor? Help your children really slow down and see the spectacular colors, the interesting textures, and the wide variety of shapes that spring flowers have to offer.

IMG_1819After some careful observation, consider giving them about 15 minutes or so to carefully draw what they see. Have them focus in on one small area. If your students already have sketchbooks, that’s great! If not, a sheet of plain while copy paper held on top of a book for support will work just fine. Don’t make it complicated… just don’t miss this opportunity to teach your students the simple joy of slowing down and really seeing the beauty of the world around them.

IMG_1820If winter-like weather is still in full swing where you live, bring a small potted flower or two into your classroom for your children to observe and draw. This small bit of color and cheer will help you all be patient as you look forward to warmer weather that should certainly arrive soon.

IMG_1763I’m so excited to introduce something brand new on my blog! I’m calling them “Art Kits”, and it’s super easy to be entered into a drawing to win one.

Each Art Kit is valued at over $100.00, and includes everything you see in the photo above, as well as an easy to follow, step-by-step lesson plan and 50 sheets of white drawing paper — And it can be YOURS for FREE!

I’ll be giving away a kit exactly like the one you see pictured above, every three months for the next year — that’s four kits in all! This is called Art Kit #1: Observational Drawing: Sea Shells. In addition to all of the fun stuff you see in the photo, you’ll also get a step-by-step lesson plan that you can use in your classroom immediately. (No art experience on your part is required or necessary.)

Students of all ages will love looking through their magnifying glasses to see a detailed view of any one of the interesting shells included. The lesson plan will walk you through an easy to present lesson that will encourage your students to carefully observe a shell and then create an original drawing of what they see. Soft lead pencils and special erasers will help them get their drawings “just right”. They will be thrilled to then add color with chalk using the ordinary blending tools of cotton balls and Q-tips! In addition to the excitement of creating art, you’ll see lots of valuable curriculum connection possibilities for your students in science, math, and language arts.

Here’s how to win!

1) Register for one or more of the affordable, convenient, self-paced Professional Development Art Classes that I teach through Fresno Pacific University here. Each registration will earn you 6 Entries into the Art Kit drawing.

2) Refer a colleague who registers for one or more of my courses and you’ll earn another 6 Entries into the Art Kit drawing. (I must be notified via email of the name of the person who made the referral in order for them to be given their 6 entries for that referral.)

3) Comments on my blog or Facebook page will each earn 1 entry into the Art Kit drawing. (Only one comment per person, per day will count towards entry into the drawing.)

Registrations, referrals, and comments will earn entry into the Art Kit drawings based on the following time table:

April-May-June: Winner’s name drawn on July 1, 2013

July-August-September: Winner’s name drawn on October 1, 2013

October-Nov-Dec: Winner’s name drawn on January 1, 2014

January-February-March: Winner’s name drawn on April 1, 2014

As you can see above, I’m breaking the year into quarters with April-May-June being the first block of time for the first Art Kit drawing. So for example, all course registrations received, colleagues referred & registered, and comments made from April 1, 2013 until June 30, 2013 will be included, and I will draw the winning name on July 1, 2013. Then the process begins again for July-August-September and so on, until the fourth and final Art Kit winner is drawn on April 1, 2014.

So what are you waiting for? Head on over to Fresno Pacific University and register for one of my art classes! Then get a friend or colleague to do the same! While you’re on a roll, comment on any of my blog posts or head on over to my Facebook page and get typing! You can’t win one of these great kits if you don’t enter… so get going and get excited!

(If you’d like to purchase Art Kit #1: Observational Drawing: Sea Shells, please contact me via email for information at JGomasFaison@gmail.com)