Archives for the month of: February, 2014

IMG_2599Here’s a quick little art experience you might like to try with your students that will help them explore the differences between positive and negative shapes and space.

All you need are 3 sheets of white paper per student — even copy paper will do — some small pieces of scratch paper, pencils, and cotton balls or tissue.

To begin, ask your students to cut a shape out of their first sheet of paper. Depending on the age and ability levels of your students, the shapes can range from simple, free-form organic shapes, to something much more complex. You will want to have them cut out their shape so that when they are finished, they are left with two things: the shape itself that they cut out, and the outside edge of paper around what they cut out.

Have them place the paper that they have left over from cutting out their shape, on top of their second piece of paper. (You might want to have them tape the top and bottom pieces of paper together to prevent movement.) Using a pencil, have them rub a patch of lead onto a piece of scratch paper. Using a cotton ball or a tissue, have them pick up some of that pencil lead and begin to rub it from the outside edge of the paper toward the center open space left by the shape they cut out.

IMG_2601

Continue this process of rubbing pencil lead from the outside edge in toward the center, until they have filled the center with pencil shading. Carefully separate the two sheets of paper. What they are left with is a shaded image of their shape. This shaded shape is the “positive” image. If you were to peek under an edge while they worked, it would look like this:

IMG_2602

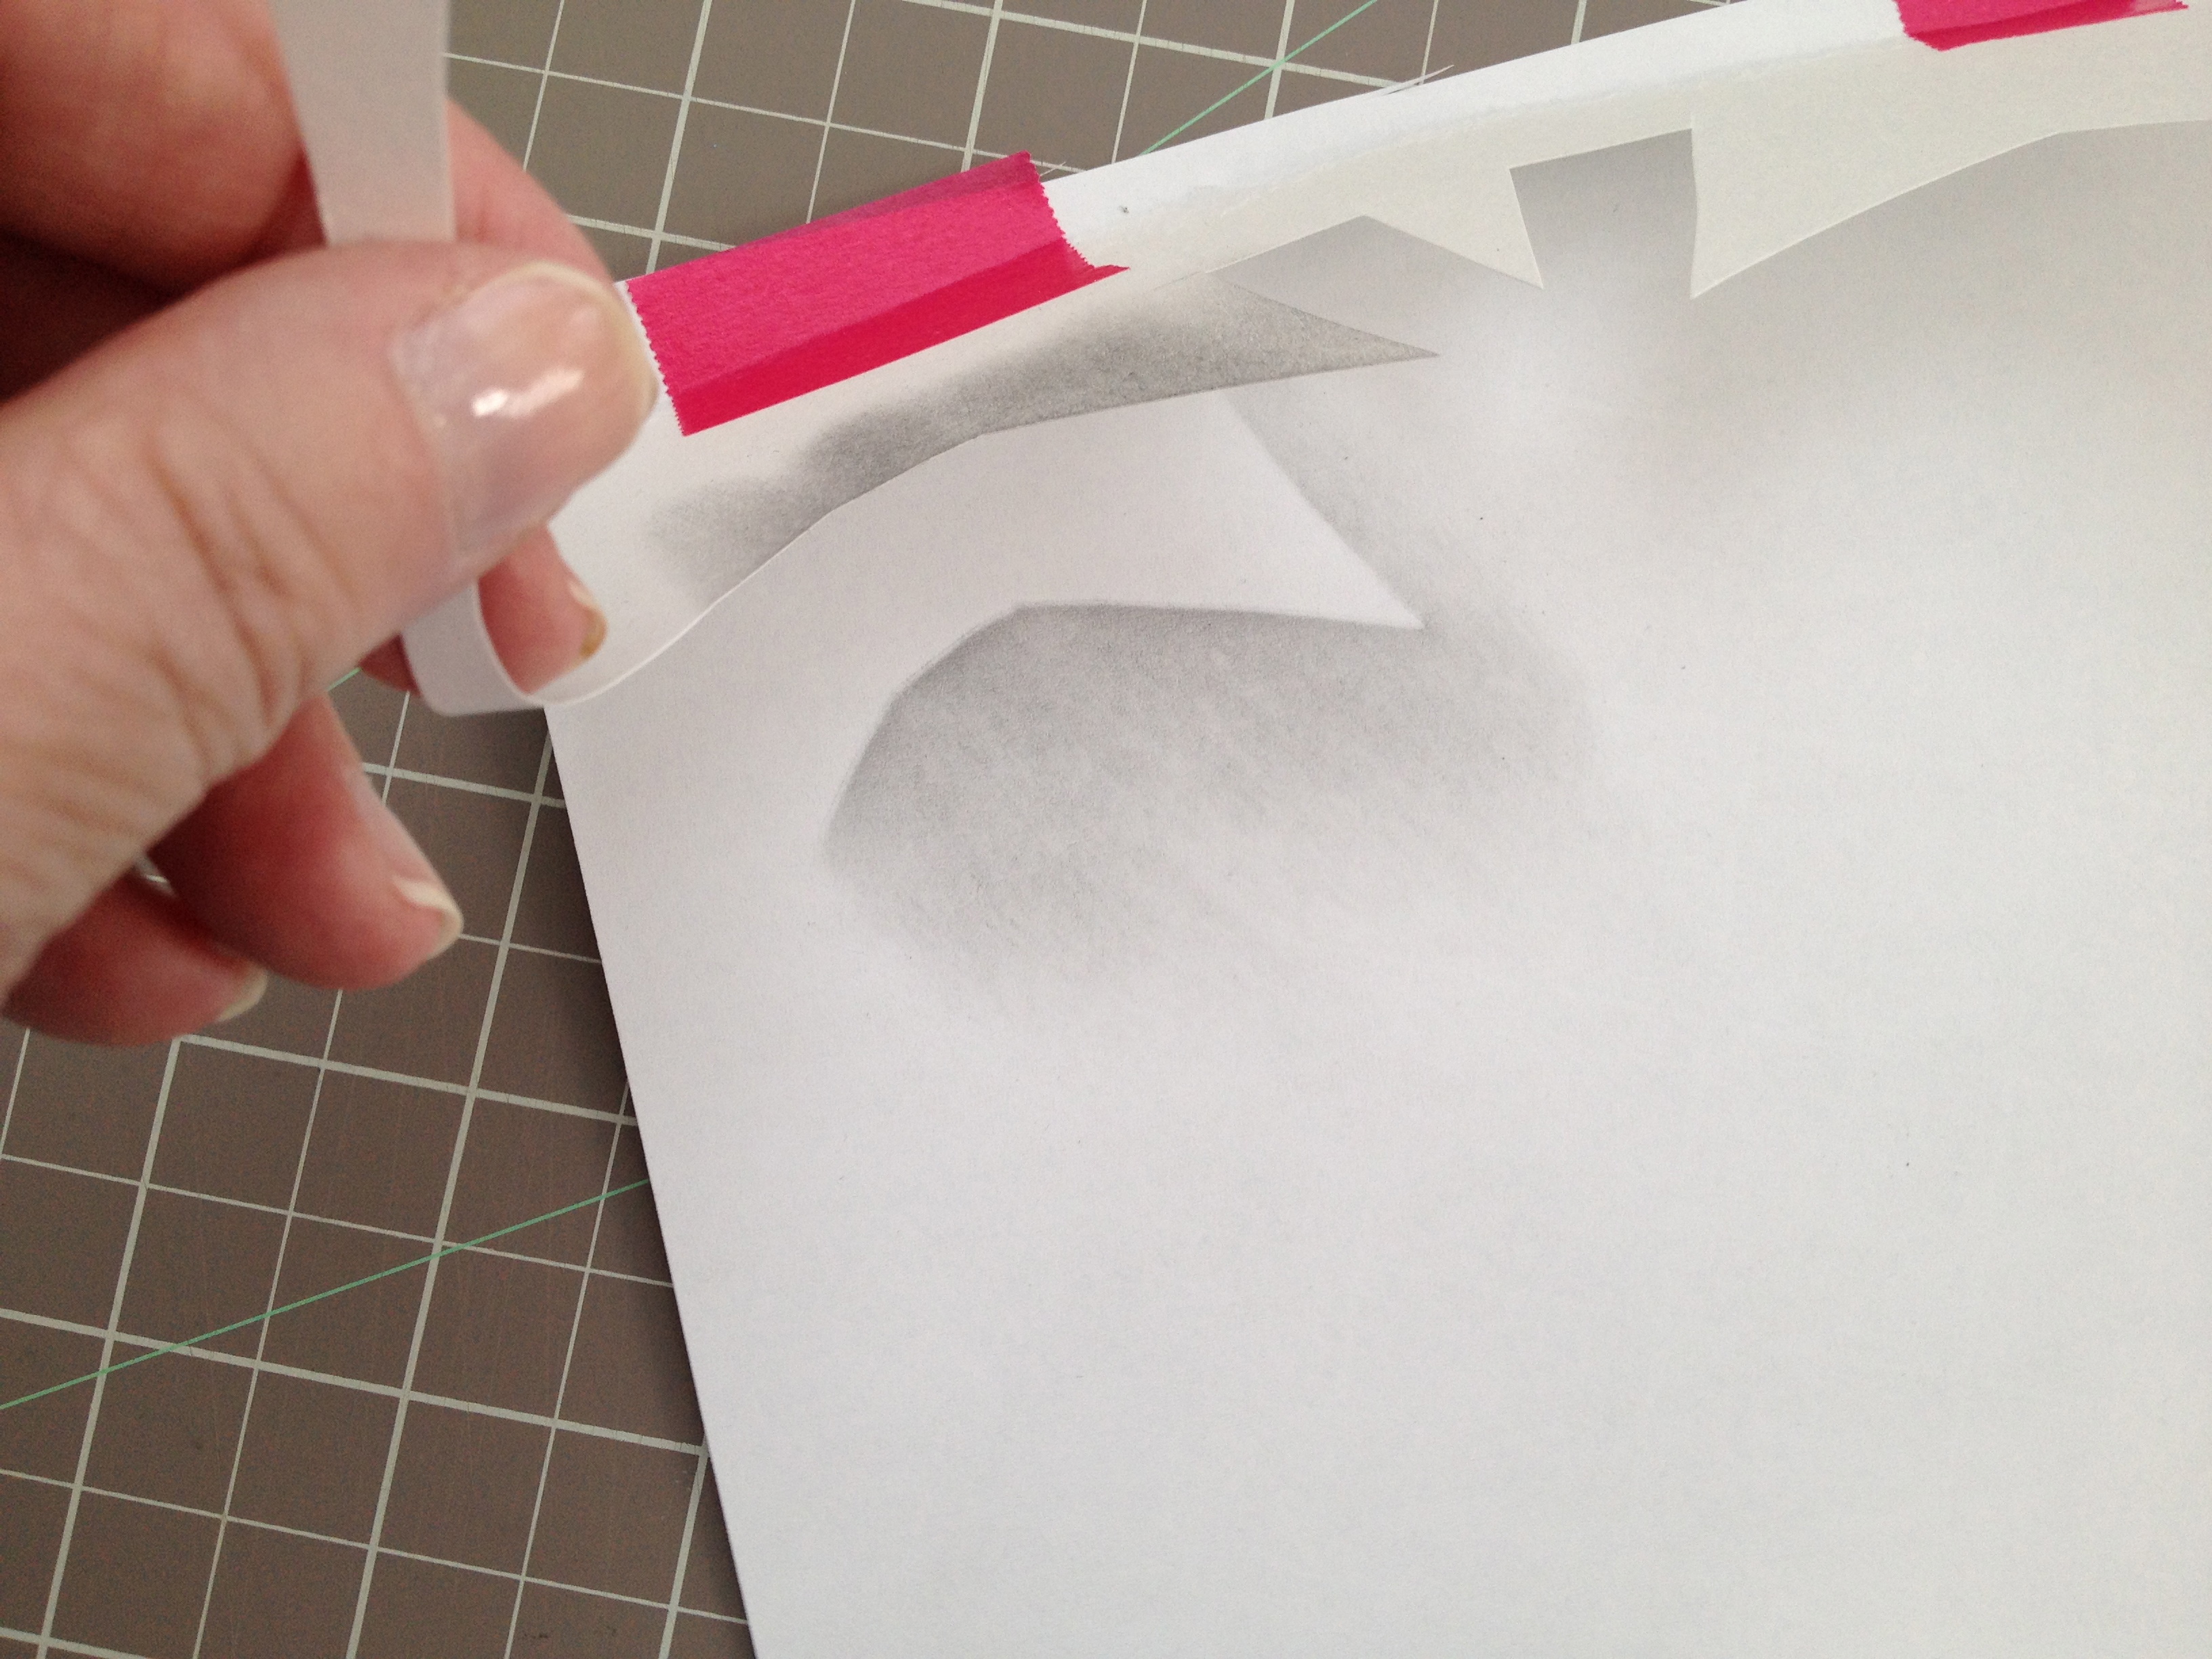
Next, ask your students to carefully position the actual shape they cut out on top of their third sheet of paper. (You might consider having your students place one or two tape loops underneath their shape to keep it from moving around.) Using the same pencil lead and cotton ball or tissue, this time you are going to ask your students to rub from the shape itself onto the paper below.

IMG_2603

Have them continue rubbing from their shape onto the paper underneath it until they have rubbed all the way around. Ask them to carefully separate the two pieces of paper, set their actual cut out shape aside, and what they will be left with is an image of their shape determined by the shading around the outside of it. This is the “negative” image of their shape. If you were to peek underneath their shape while they were working, it would look like this:

IMG_2604

Try this yourself first so you can see how easy and fun it is to do. Kids are always delighted by this experience because the results seem so magical!

Looking for more art lessons like this one to incorporate into your classroom curriculum? Check out my affordable, convenient, and self-paced Professional Development course offerings through Fresno Pacific University here. This particular lesson is part of my class called Drawing Magic.

IMG_2582I don’t know about you, but I feel like the USPS really outdid itself with the release of this heart stamp… just in time for mailing out your Valentines the old-school way.

Have you ever stopped to consider postage stamps as art? (I’ll wait while you consider it.) They’re like teeny-tiny little canvases hiding out in plain sight in the midst of our everyday lives! By calling attention to postage stamps, you begin to get your students thinking about the fact that someone has to design those stamps. Someone has to come up with an idea and then create the artwork that eventually becomes the stamp that gets printed and used by many, many people! (Talk about great exposure!)

Now consider having your students design their own postage stamps. The beauty of this art lesson is that the subject matter is virtually limitless, meaning you can connect it to any subject you are teaching! Learning about geography? Students design stamps based on geography! Reading a certain book? Students design stamps based on something related to that book! It’s Black History Month? Your students can design stamps based on someone they admire that you are currently studying! Learning the alphabet? Students design stamps based on the first letter of their names! It’s genius, right?!

IMG_2583Keep the materials simple for this lesson: A sheet of 9X12 inch drawing paper (plain white construction paper — or even 8.5X11 inch copy paper will do in a pinch) for each child, with two 3X4 inch rectangles on it. (Depending on the age and ability levels of your students, this could be a great opportunity for them to practice their measuring skills.) Then you just need some drawing tools… whatever you have on hand like crayons, colored pencils, and fine tip markers.

I would spend a few minutes talking with your students about postage stamps and maybe even have some actual stamps to show them. There is a tremendous variety so you won’t have any trouble finding some that they will be able to relate to and get excited about. For example, click here to see some wonderful Harry Potter themed stamps. (Be sure to put all samples away once your students begin designing their own.)

Tell them that you’re going to have them work about 4 times larger than an actual stamp, so they’ll have a nice big surface to decorate. (For the very young, you might want them to work even larger than the 3X4 inch rectangle suggested.)

Then talk about the subject matter you’d like them to use for their stamp designs. As mentioned above, your options are many here. In my experience, it’s best to decide ahead of time what the “theme” will be rather than telling them they can design “anything”. Sometimes having no restrictions becomes almost paralyzing, and trust me — you’ll still get a tremendous amount of variety within your theme. (Unless you say something very specific like, “Everyone design a stamp with George Washington on it.” You get the idea.)

IMG_2585Depending on how involved you want to get, when the stamp designs are finished, you can use a single hole punch to punch around the edges of the stamps to make realistic looking perforations, or you can use scissors with different edged blades to get a similar look. Still looking for more? How about having your students write something about their stamp design and why they did what they did? Or perhaps they can write a short piece about the subject of their stamp? Ask them to share what they’ve drawn and written with a neighbor or the whole class, and you’ve got some oral language thrown into the mix!

Have fun with this, and please share your results if you try it with your students. I’d love to see how it goes!

IMG_2557Hello February 2014!

I’d like to celebrate this month by “sharing the love” with an art book giveaway! (Who doesn’t LOVE something FREE?!) Simply leave a comment on this blog post, and you will be automatically entered to win one of two brand new copies of the book pictured above entitled, “M.C. Escher The Graphic Work”.

This book would make a terrific addition to any art library. Your students will be intrigued not only by Escher’s incredible imagination, but also by his impressive skill. Here are just a few images you will find in this wonderfully illustrated book.

IMG_2559

IMG_2558Comment on this post anytime between now and Friday, February 7, 2014 by 6 p.m. Pacific Standard Time, and you could win! I have two copies to give away, so two winners will be selected at random from the entries. (Winners will be notified by email so that I may obtain mailing addresses. Of course, I will cover the cost of mailing. It is, after all, a FREE giveaway, so winning will cost you nothing!)

And while you’re here… consider for just a moment whether or not you need any professional development credits. Or maybe you’d like some easy-to-implement art lesson ideas for your classroom? If either of these sound like you, please click here to see the affordable, convenient and self-paced professional development art classes I teach through Fresno Pacific University. (Absolutely no art experience is necessary or required!)

Thanks for stopping by, and good luck in the drawing for the books!