Archives for category: artist

IMG_2557Hello February 2014!

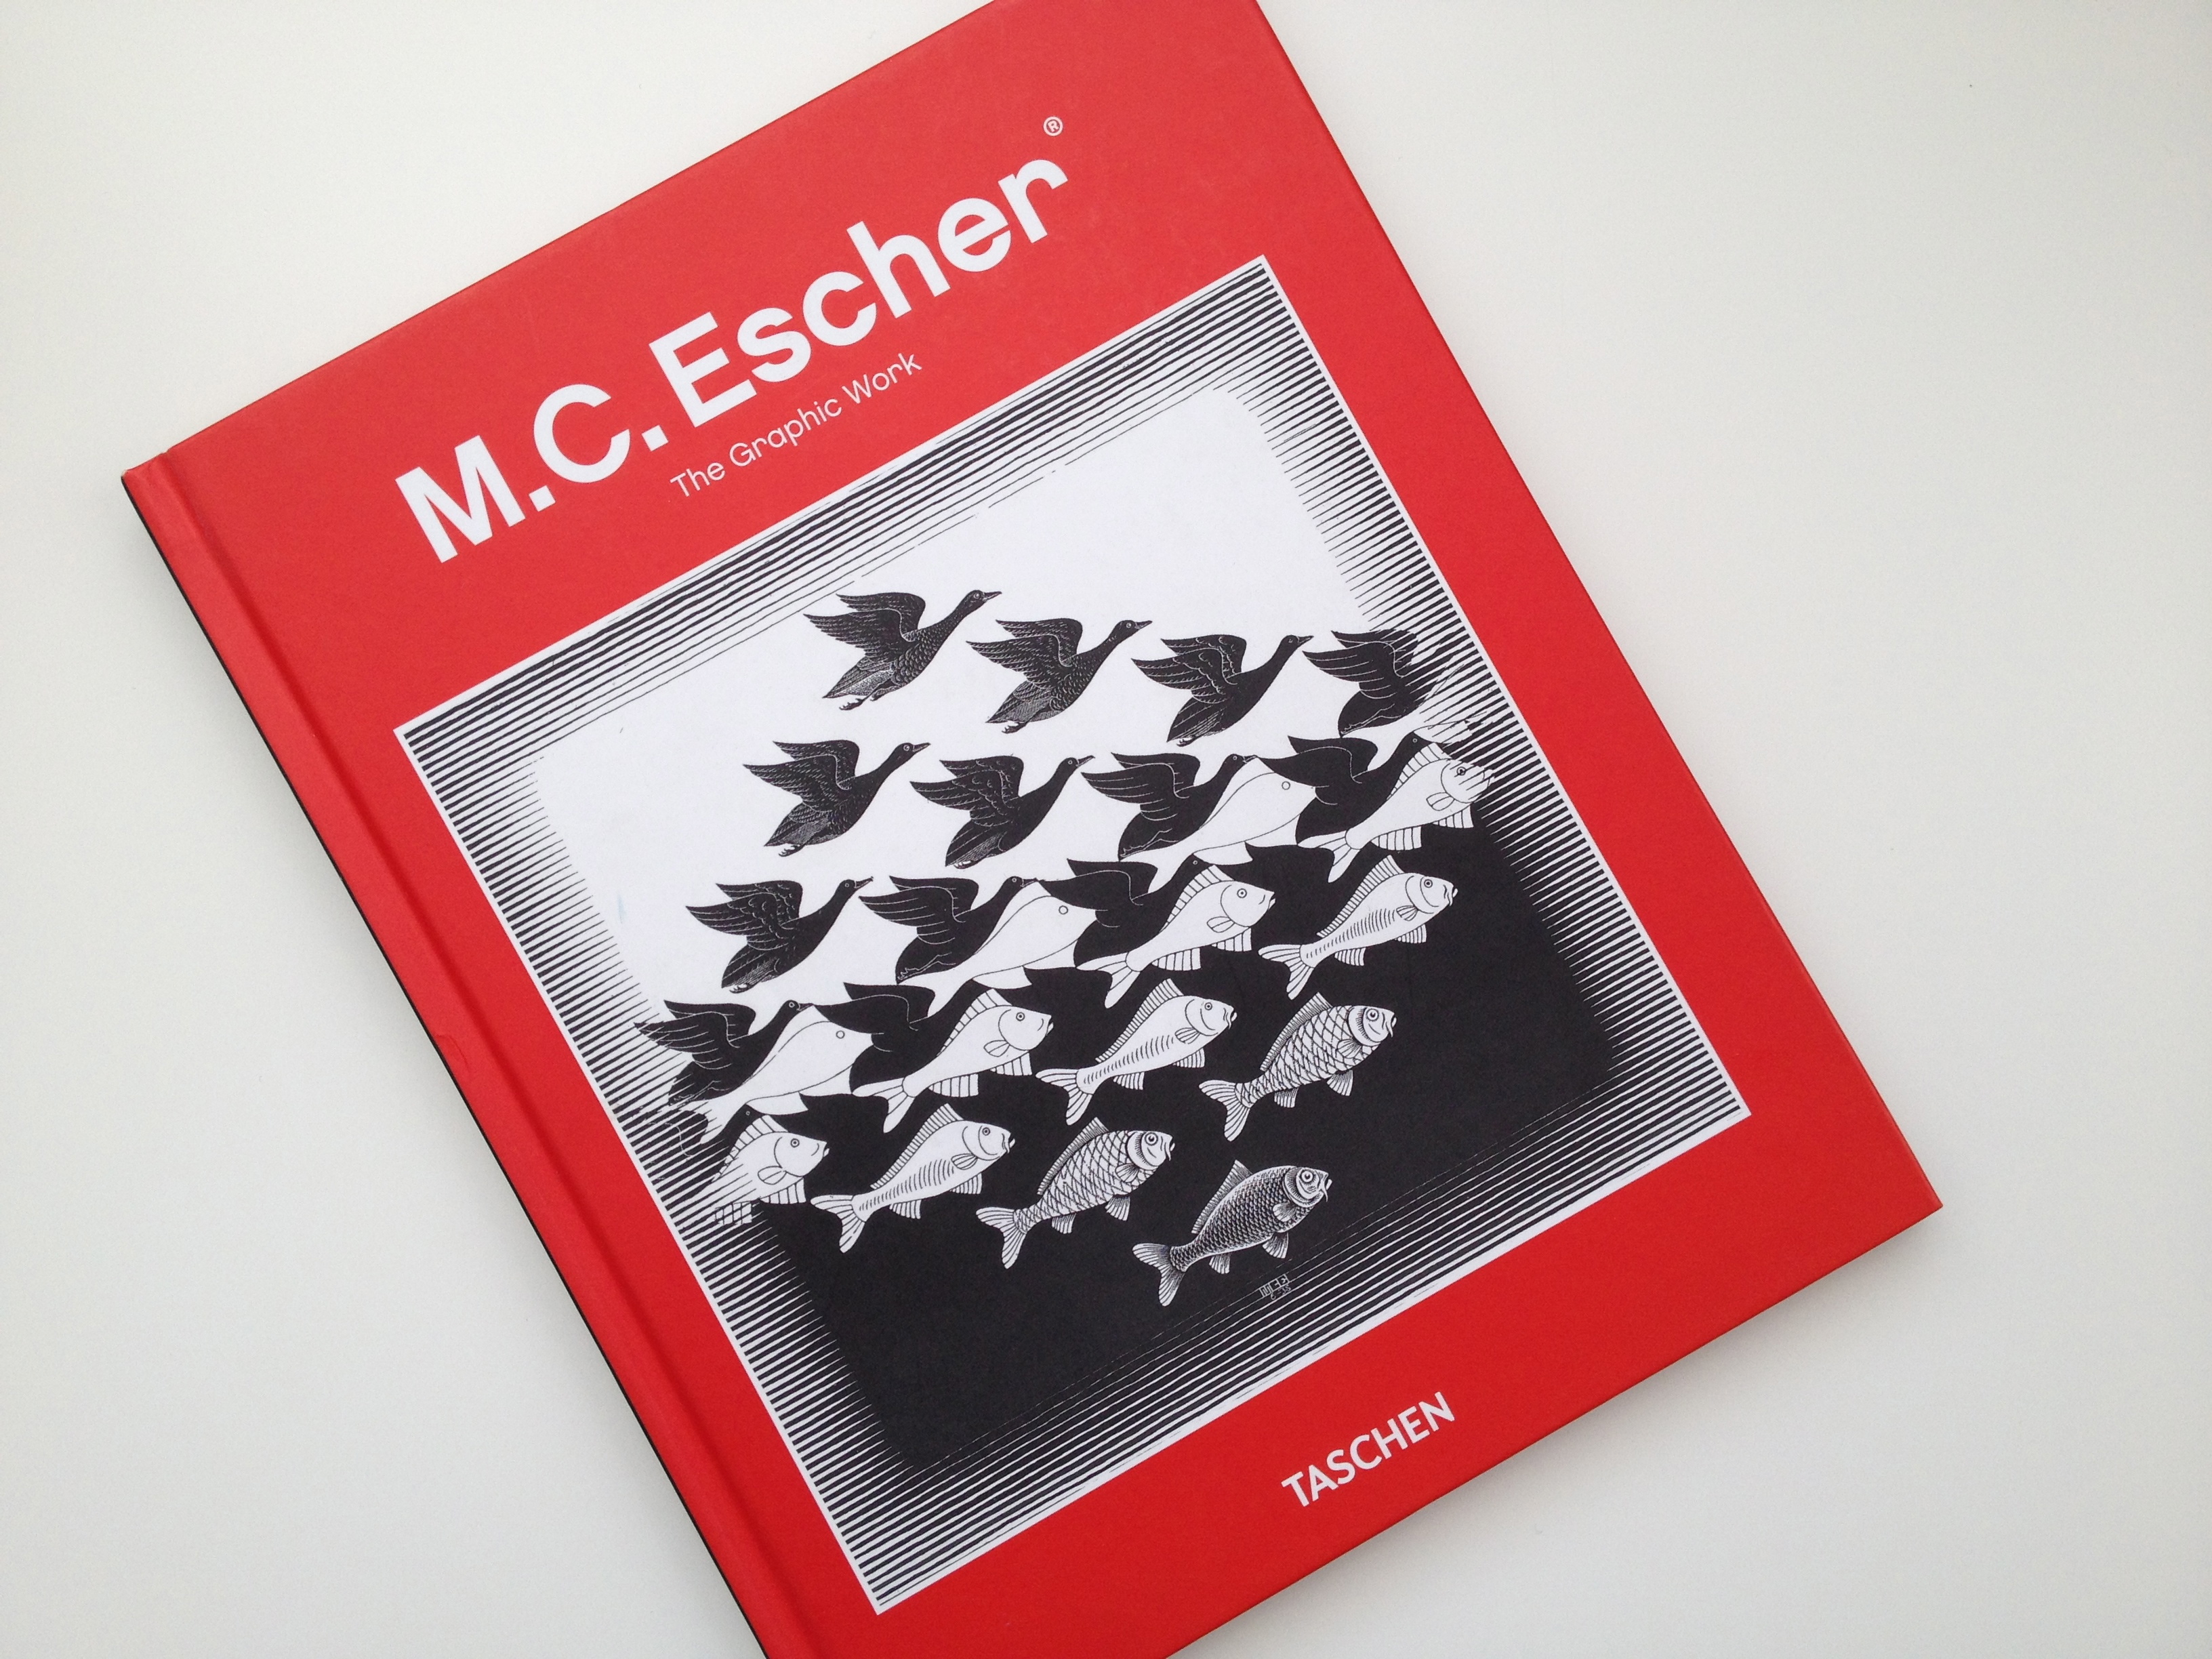
I’d like to celebrate this month by “sharing the love” with an art book giveaway! (Who doesn’t LOVE something FREE?!) Simply leave a comment on this blog post, and you will be automatically entered to win one of two brand new copies of the book pictured above entitled, “M.C. Escher The Graphic Work”.

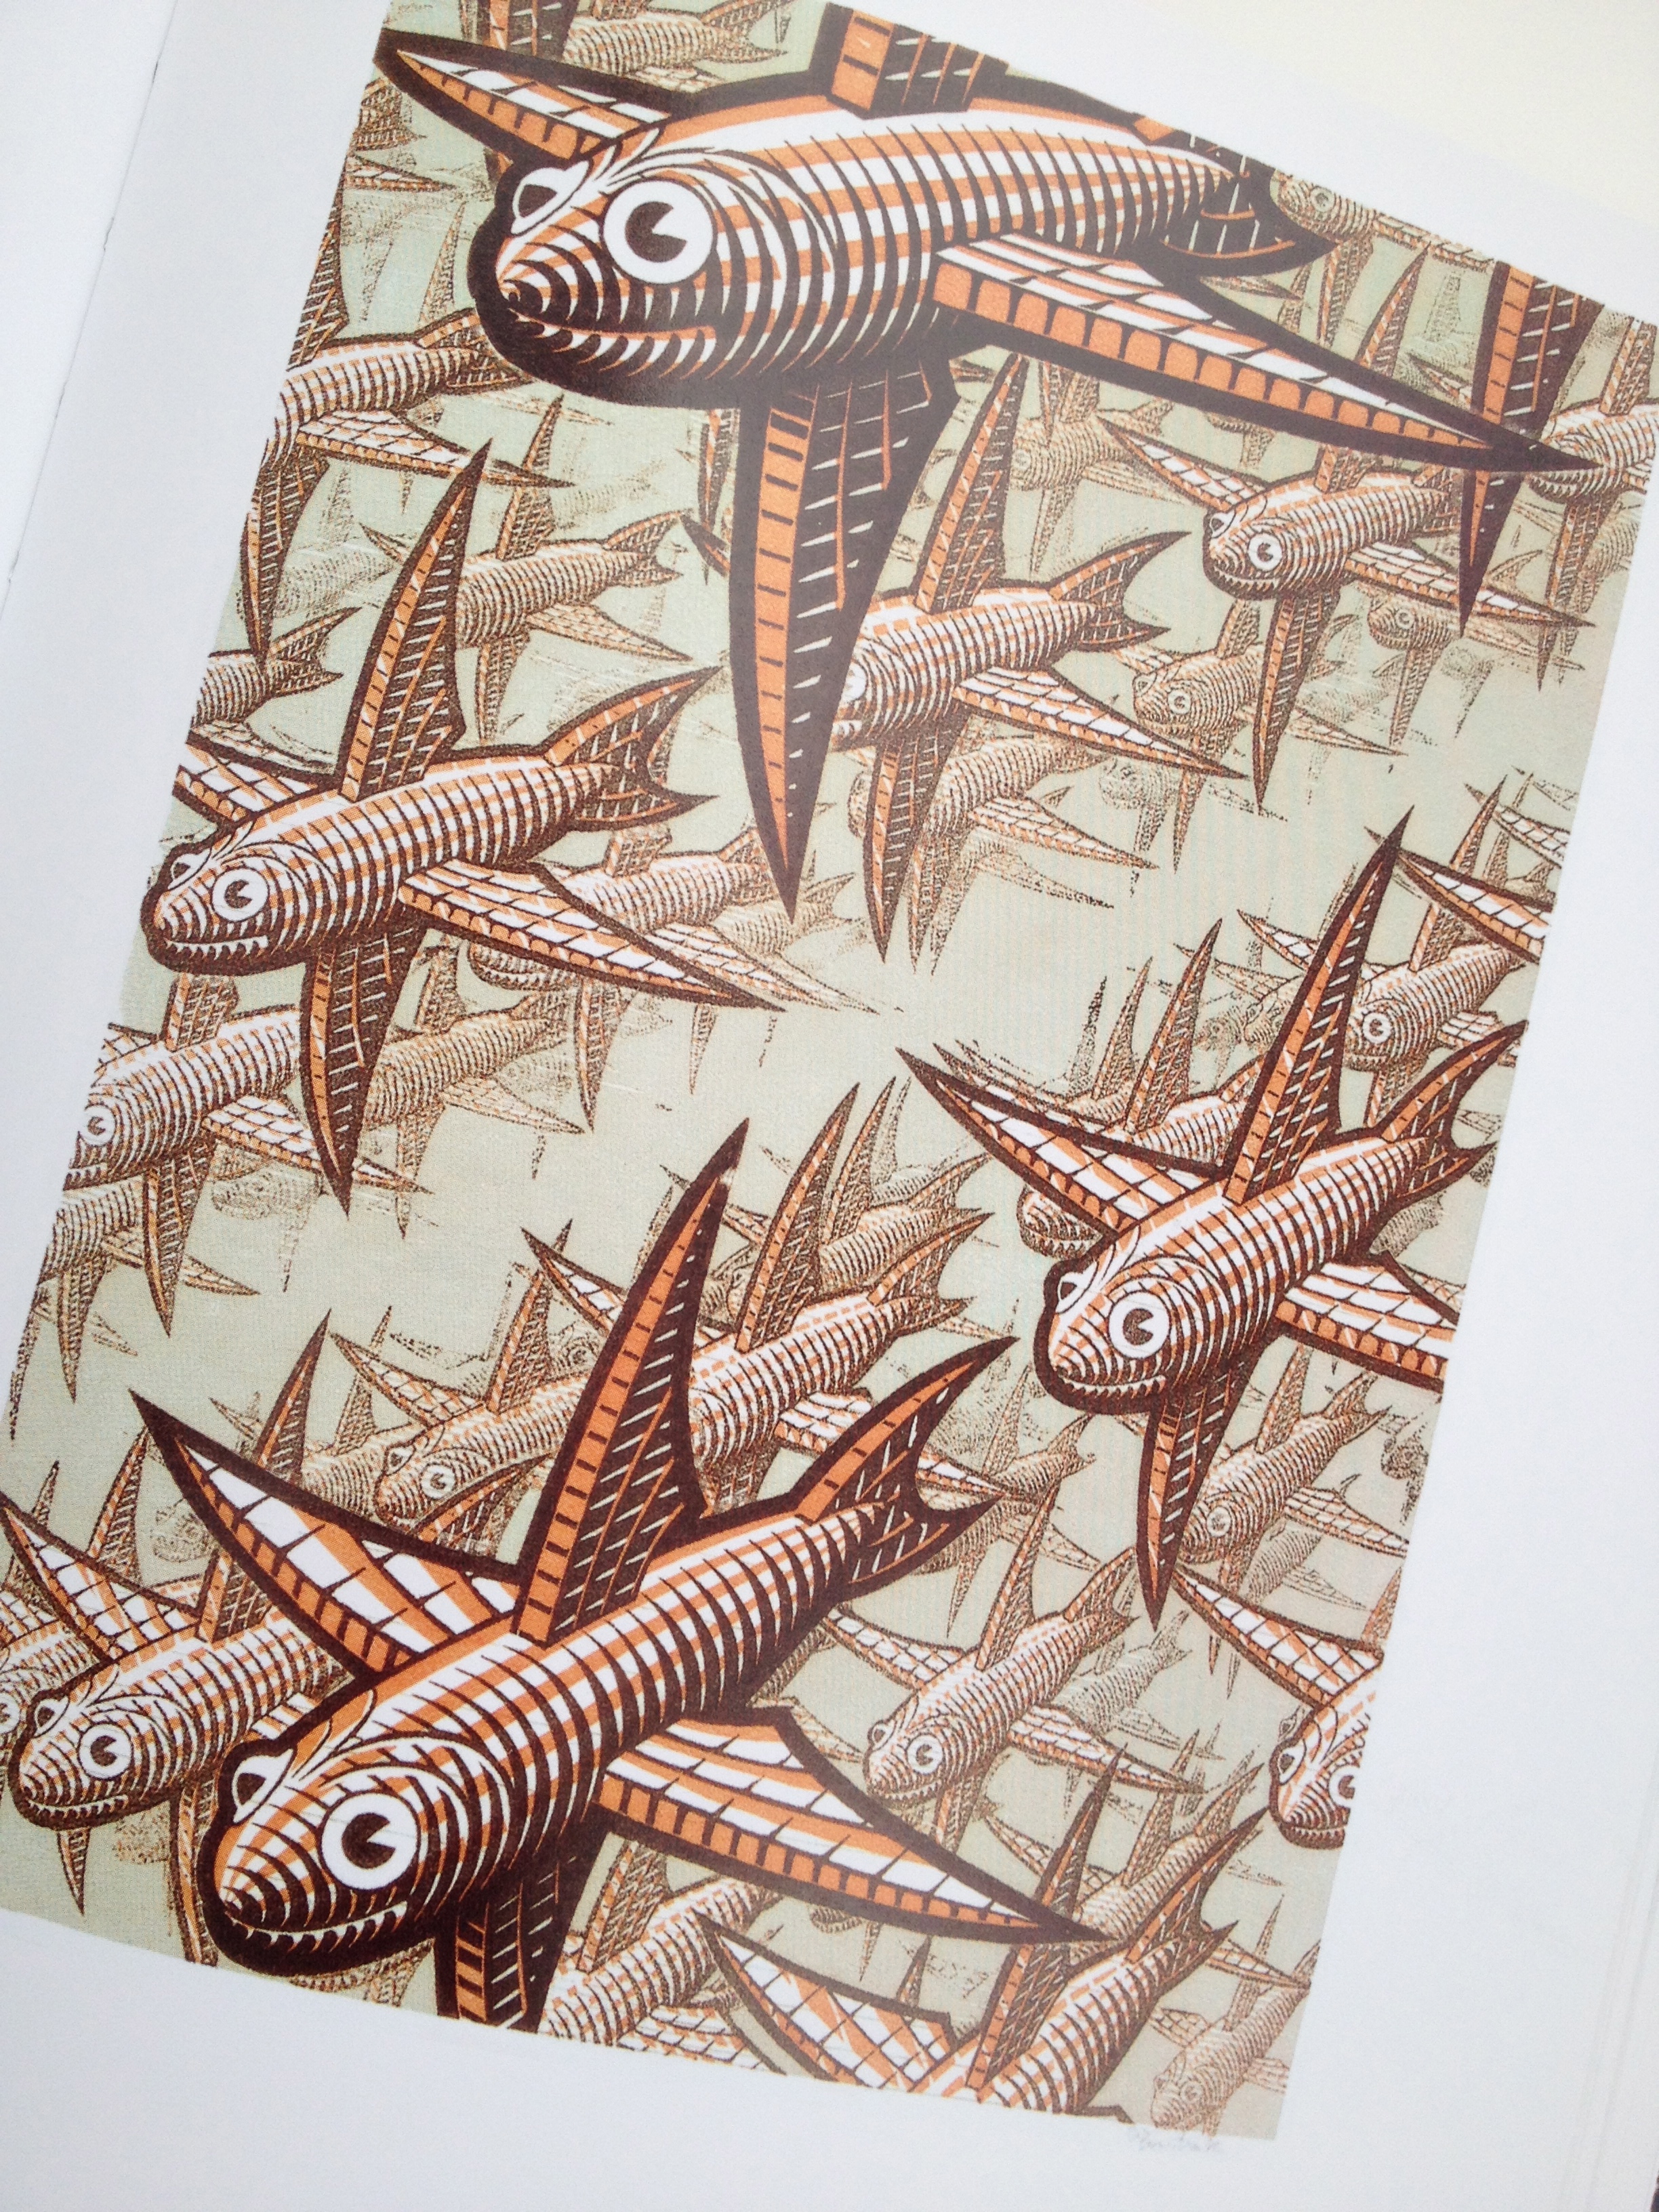
This book would make a terrific addition to any art library. Your students will be intrigued not only by Escher’s incredible imagination, but also by his impressive skill. Here are just a few images you will find in this wonderfully illustrated book.

IMG_2559

IMG_2558Comment on this post anytime between now and Friday, February 7, 2014 by 6 p.m. Pacific Standard Time, and you could win! I have two copies to give away, so two winners will be selected at random from the entries. (Winners will be notified by email so that I may obtain mailing addresses. Of course, I will cover the cost of mailing. It is, after all, a FREE giveaway, so winning will cost you nothing!)

And while you’re here… consider for just a moment whether or not you need any professional development credits. Or maybe you’d like some easy-to-implement art lesson ideas for your classroom? If either of these sound like you, please click here to see the affordable, convenient and self-paced professional development art classes I teach through Fresno Pacific University. (Absolutely no art experience is necessary or required!)

Thanks for stopping by, and good luck in the drawing for the books!

Advertisement

IMG_1996I’m thinking a lot today about the most important mentor I’ve had for my art and teaching careers. That mentor was my Dad, Ralph Gomas. Today he would have been 78 years old, so of course I’m thinking of him even more than usual on his birthday.

Without his example — his and my mom’s actually, because she’s very creative in her own right  — I don’t think I would have been interested in pursuing art as a career. In fact art and design were such an integral part of my life growing up, I didn’t really even consider them career options at first… they were so foundational. Because of this strong artistic foundation, becoming a graphic designer was a natural fit for me and I loved it. I was already working in the industry when we began to move away from using darkrooms, typesetters, and waxers, to working completely on the computer. It was liberating and frustrating all at once. (I still miss wielding an x-acto knife from time to time.)

Then life changed and I went back to school to earn my teaching credential. It took me by surprise how much I loved being in the classroom. It really is a performance of sorts, and I’d always loved doing that, so I shouldn’t have been shocked. My Dad’s help as I took the helm of a first grade classroom, and then years later, a continuation high school art room, was invaluable. (I literally don’t think I could have survived the start of that high school teaching assignment without his constant help and advice!) Next, I earned my Master’s Degree which enabled me to begin working side-by-side with my Dad teaching the Professional Development art courses he’d written for Fresno Pacific University’s Center for Professional Development. We spent hours together with him talking me through his thought process while reviewing the work of countless students from all over the country, and the world. This was mentoring at it’s best. Then we worked together in the same room but on separate computers reviewing student work. It was reassuring to know I could ask his opinion any time I needed to if I had a question about something a student had submitted.

Though he’s been gone for a little more than eight years now, his skilled mentoring still guides me to this day. He’s not sitting at the computer next to me, but I feel he’s always close in my heart when I really need him.

Have you had a special mentor while following your career path? Do they know how much they’ve helped and influenced you? Perhaps you yourself have had the privilege of being a mentor to someone. It can be an awesome responsibility as well as a terrific way to “pay it forward”.

DSC01110As a teacher of professional development art courses for the past 17 years, I’ve noticed one consistent truth: teachers are reluctant to teach art because they are afraid. Afraid that to effectively teach art, they must “perform” artistically in some way for their students. They repeatedly tell me things like, “I can’t draw” and “I’m not an artist”. My message to them is twofold. First of all, experience has shown me that everyone is creative to some degree — we all just have different levels of art experience and exposure. Secondly, and perhaps most importantly, a teacher doesn’t need to be a trained artist, or to be able to draw, in order to present successful, meaningful, and powerful art lessons in their classroom. In fact, I would argue that the most important thing a teacher needs to be when teaching art, is what I would call a “monitor/motivator”, and one of the most profound phrases in the motivator’s toolkit is, “take another look”.

Just as adults can be intimidated by art, so too are the students we teach. It’s no surprise that the higher up in grade level one looks, the more fear and trepidation one will see in the students. This is where the power of the “monitor/motivator” role comes in. By closely monitoring your students as they work on any given art experience, you will be able to support and motivate them as needed, helping to build their confidence. Actively move around the room offering constructive, encouraging words and comments while you closely look at what they are working to create. When students ask for help and want you to solve an art problem for them, resist the urge to do so and suggest that they “take another look”. Ask questions that will encourage their thinking and analysis of their own work, and of the problem at hand. This is critical thinking made manifest.

Because of a limited exposure to art among other things, students often think they are finished with an art making experience long before they really are. This is the crucial point where you can acknowledge what they’ve already accomplished by saying something like, “That’s a really great start!” and then offer the empowering questions, “What else can you do here? Take another look… what else can you explore?” This suggestion to “take another look” lets the student know that there is still more to see and to do, and that your expectation is that they will continue to search for it. You are challenging them to push past what might have been a quick, simple, and safe solution on their part, while letting them know that you have faith in their ability to go beyond it. As you consistently monitor and motivate your students during art experiences, you will see your students look to you for answers less and less, as they begin to trust themselves more and more.

As Maria Montessori once observed, “The children are now working as if I did not exist.” Helping your students develop into inquisitive, self-directed, life-long learners is possible, and connecting meaningful, authentic art experiences to your curriculum can foster this development. Please click here to see the affordable, convenient, and self-paced professional development art courses I teach through Fresno Pacific University. (* No art experience needed or required!)

Today’s post is about a really great series of art books that I think would make an excellent addition to any classroom library. These little books, “Getting To Know The World’s Greatest Artists”, are written and illustrated by Mike Venezia. Apart from their availability (Amazon.com) and their great price ($6.95), each of these terrific little books presents a succinct focus on one artist in an informal, engaging, and highly informative way.

Whether teaching first grade or high school, I always kept a variety of these books in my classroom’s library. When I taught first grade I read these books to my students, and they loved hearing them over and over again. When “reading” on their own, my young students would consistently select these books to enjoy by themselves or with a reading buddy. My high school students perused these same books, and I believe they enjoyed and appreciated learning about the famous artists in a more “relaxed” way than they might otherwise have through a typical art history textbook.

One look through these books will win you over to Mr. Venezia’s engaging, conversational style. He makes the artists seem like people who might have lived in your town and perhaps even been a neighbor. Through words and pictures, he brings each artist to life by revealing them to be real people we all can relate to. People who accomplished great things — yes, but people who struggled and suffered through hardships as well. Reading these books is so engaging and is so much fun, kids of all ages might not realize how much they are actually learning!

If you’d like to receive one of these books by Mike Venezia, just leave a comment on this blog post. The first 10 people to leave me a comment by Friday, November 30, 2012, 5 p.m. (PST) will each get one free book from this series of “Getting To Know The World’s Greatest Artists” books. (Artist subject of the books will vary and cannot be specified by the recipient. One comment/entry per person, please.)

Giveaway Update: As of 11/14/12, I still have 4 books left to give away!

Especially for Halloween, I’m sharing a great little art trick, that turns out to be a pretty neat treat as well.

First of all, a basic understanding of colors is helpful. Generally, all colors can be divided into two broad categories known as “warm” or “cool”. Warm colors — red, yellow, orange — are those that you associate with warmth, or with warm things such as fire, the sun, or hot lava. Cool colors — blue, blue-green, aqua — are those that you associate with a feeling of cool and with cool things such as the ocean, sky, ice and snow. (A few colors can work in either category depending on their composition. Green and purple are good examples of this duality because each is made by mixing a warm color with a cool color.)

Children are fascinated not only by colors and color mixing, but also with the idea that colors can make us feel a certain way based on their perceived warmth or coolness. Advertisers and designers are particularly adept at using our innate feelings about color to their advantage. As it turns out, warm and cool colors can also be used to manipulate our visual perception as well.

Which brings me to the art trick I promised! When creating any type of artwork, if you’d like to enhance the illusion of depth in your piece, remember this simple trick: warm colors advance and cool colors recede. Even the lightest application of cool colors over an area of your work, be it a painting, a drawing, or whatever, will make it look like it has been pushed back and is farther away from you. The opposite is true for warm color application, making that area magically seem as if it is closer to you, advancing toward you. And if you apply both in the same piece — warm colors on foreground images, and cool colors on background images — Wow! The illusion is striking!

Try this little trick for yourself and teach it to your students. The results are a treat and will be sure to delight both artist and viewer!

If you’re an elementary school teacher, you know that young students are very enthusiastic about art. They are willing to try just about anything, and they are willing to try it with gusto. The older children get, however, the more reluctant they become to try their hand at art. When art experiences are authentic, they usually say a great deal about the artist, so by their very nature can make one feel vulnerable. By the time students become young adults, many have completely shut down artistically.

As a teacher at both the elementary and the secondary levels, it has been my experience that the single most important way to engage the reluctant older student in art, is to first meet them where they are. Initial lesson designs should rely heavily on skills that they likely already possess or will find less intimidating. (For example, painting a still life realistically using watercolors would probably not be a good first lesson choice, but using a pencil to create an abstract design using thick and thin lines might be.) Beginning with art experiences that virtually guarantee success, and showing students that you value their authentic efforts, will build their confidence and enable them to move on to ever more challenging art production.

A second approach that I used time and time again was that of providing a specific age context for the work they were doing. For example, while keeping expectations for involvement and exploration of materials very high, I would ask my high school students to imagine they were creating a particular piece of art for a viewing audience of very young children. This would allow them to “play” with images and design like a child, while still remaining their “cool”, older selves. It consistently produced wonderful results.

By presenting thoughtful lessons, and by demonstrating interest through questions and constructive suggestions, the teacher can create an atmosphere where otherwise reluctant older students will feel safe and are willing to take creative risks as they explore new materials, skills, and concepts in art.

If you’d like some tried and tested lesson plans that are sure to engage students of all ages, please check out my professional development class offerings through Fresno Pacific University.

Back to school… yes, it’s already that time of year again!

If you’re a teacher looking for an excellent, easy back to school lesson idea — and what teacher isn’t? — then you’ve come to the right place!

Lesson Idea: Create Personalized Calling Cards

For this little lesson, all you will need are some blank cards (index cards without lines will work just fine here and you won’t have to cut anything), some drawing tools (crayons, markers, pencils) and an ink pad with washable ink.

The idea here is to have every student in your class create a “calling card” that represents them. Talk for a moment about what things make each one of us unique. (Things we like to do, things we like to eat, music we like, pets we have, places and people we love, etc.) To reinforce language arts, consider making a list of some of these things as your students mention them.

Ask your students to create their special card and to include the following on one side: Their name (first and last or just first, it’s up to you), drawings and words of things that make them unique (you might want to give them a specific number of items here), and their thumb print (that’s where the washable ink comes in).

Depending on the age and ability levels of your students, modifications can be made to take this from a very simple art experience, to a much more sophisticated design problem that will challenge older students. Reading a story first about how we are all unique and special might be a wonderful introduction to this experience of card making. Asking students to reflect in a journal about their creative process while designing their cards can be a meaningful culmination to the project. Allowing students to select, cut, and glue magazine images on their cards in addition to their words and drawings can also be interesting if you choose to get that involved.

Once finished, these cards will look great displayed in the classroom, or on each child’s desk, or can even be used by the teacher to select students at random for special jobs or to answer questions.

If you’d like to be the kind of teacher who effortlessly brings meaningful art experiences into your classroom on a regular basis — check out the classes I offer through Fresno Pacific University. You won’t be disappointed and your students will love you for it!  🙂


Very often I’m asked by students and teachers if it’s acceptable to look at something as a reference while they are creating. My answer is always yes. I don’t think it’s realistic to expect students  — or anyone for that matter — to be able to recall exactly what any given thing/animal/place, etc. looks like from memory. Using some sort of visual reference is a great support for the creative process. But here’s the thing… I think it’s imperative to make a distinction between the different kinds of visual reference materials available.

Of course working from life is the best of the best. But if one is trying to recall the facial details of a lion, for example, getting a peek at the real thing might not be possible or practical. As the next best thing, I strongly suggest using photographs — as opposed to drawings — when some type of reference is needed.

The reason I prefer photographs over drawings is simple. If I want to draw a flower for example, maybe even something like those pictured above, by using a drawing that someone else has done as my reference, all of the decisions have already been made for me by the person who created that drawing. Things like, color, shape, shadows, highlights, details, and on and on, have already been determined by the artist who drew that flower. By using a photograph for reference, everything is there for me — all of the visual information, and I — as the artist — can make the decisions for myself about what I want to include, add, or leave out of my piece as it suits me and my creative experience. The interpretation of that photo is mine and mine alone as I create.

As a classroom teacher, I would purchase books on sale that were filled with color photos of all kinds of things… birds, reptiles, mammals, fish, flowers, you name it, and then tear the pages out and keep them in files. This made it easy to pull them out and allow students to sort through them and find what they were looking for, and then take the individual photo(s) back to their desk to reference while they worked. Having computer access in the classroom provides a virtually limitless source of reference photographs as long as students can find what they need quickly without being distracted.