Archives for category: Uncategorized

Shells & eggsAhhhh… summer. Just reading the word kind of makes your shoulders relax a little, doesn’t it? If, like many of us, you’re in the middle of a full and busy summer, why not consider taking some time to simply slow down and enjoy all that this season has to offer?

One very simple way to slow yourself down is the practice of sketching. I’m not talking about producing art masterpieces here, but actually quite the opposite. This type of drawing should be done only for you, and doesn’t need to be shown to anyone else. Ideally, this experience is really more about the process, than the end product.

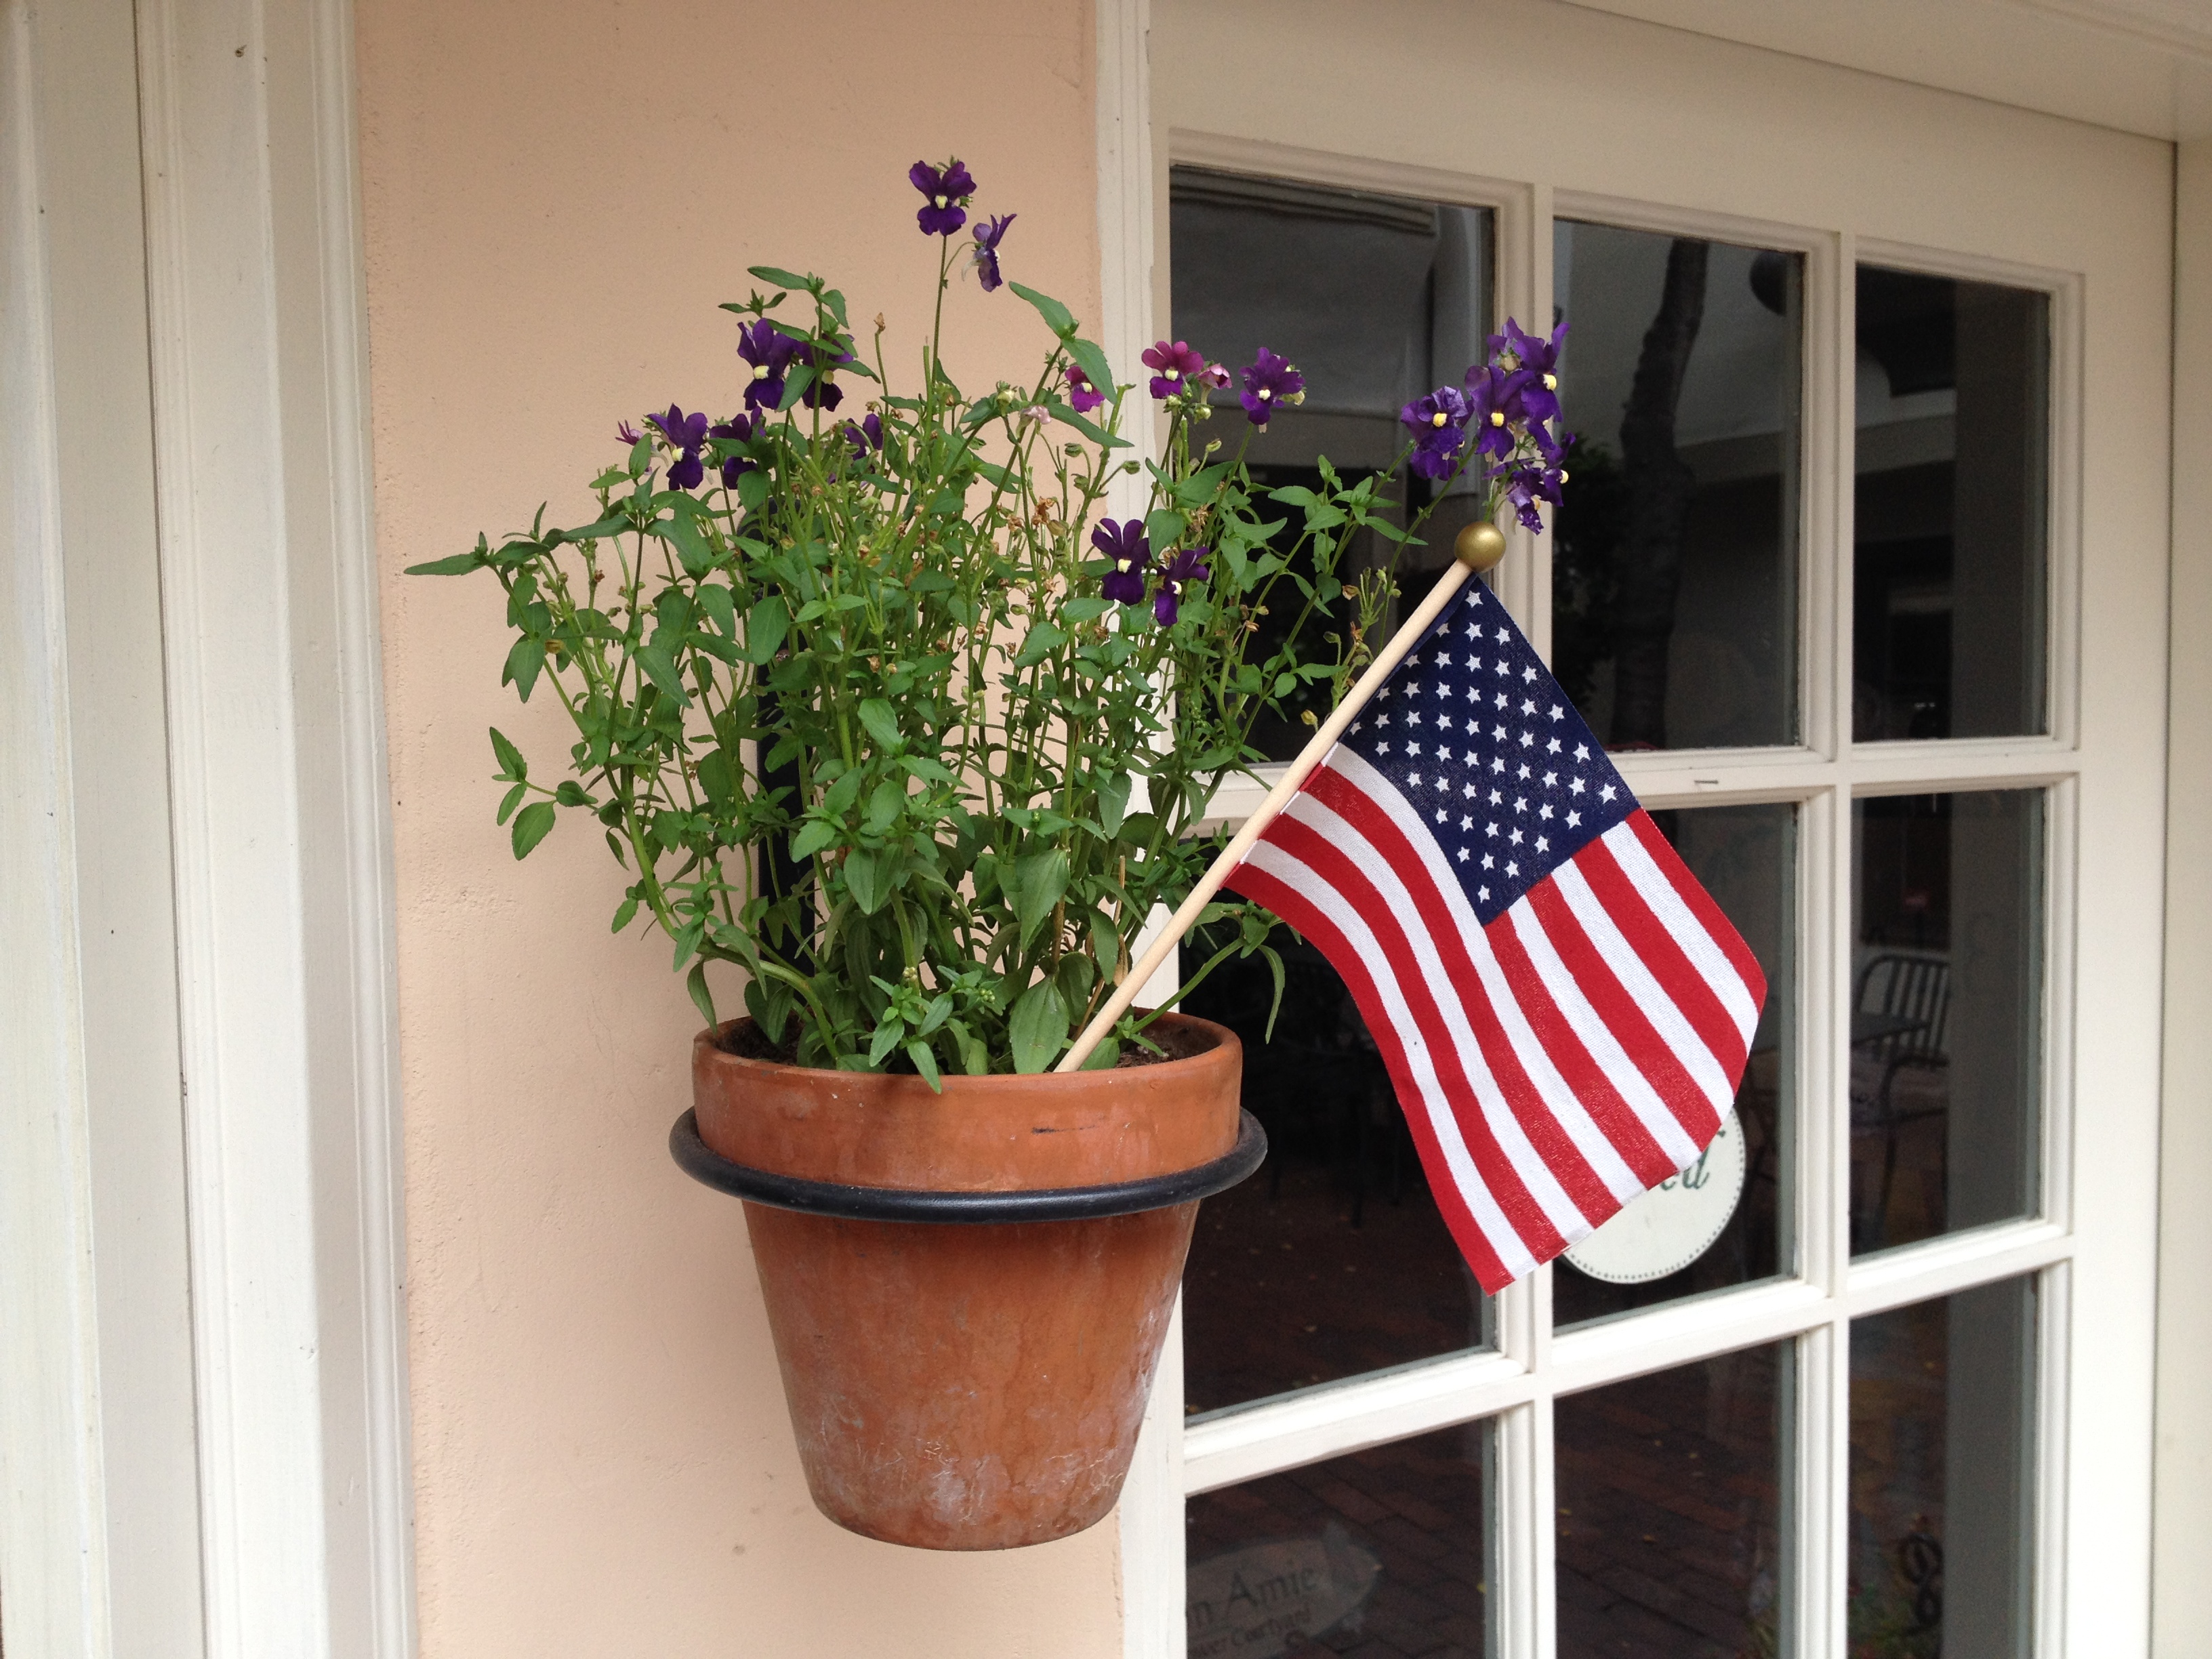
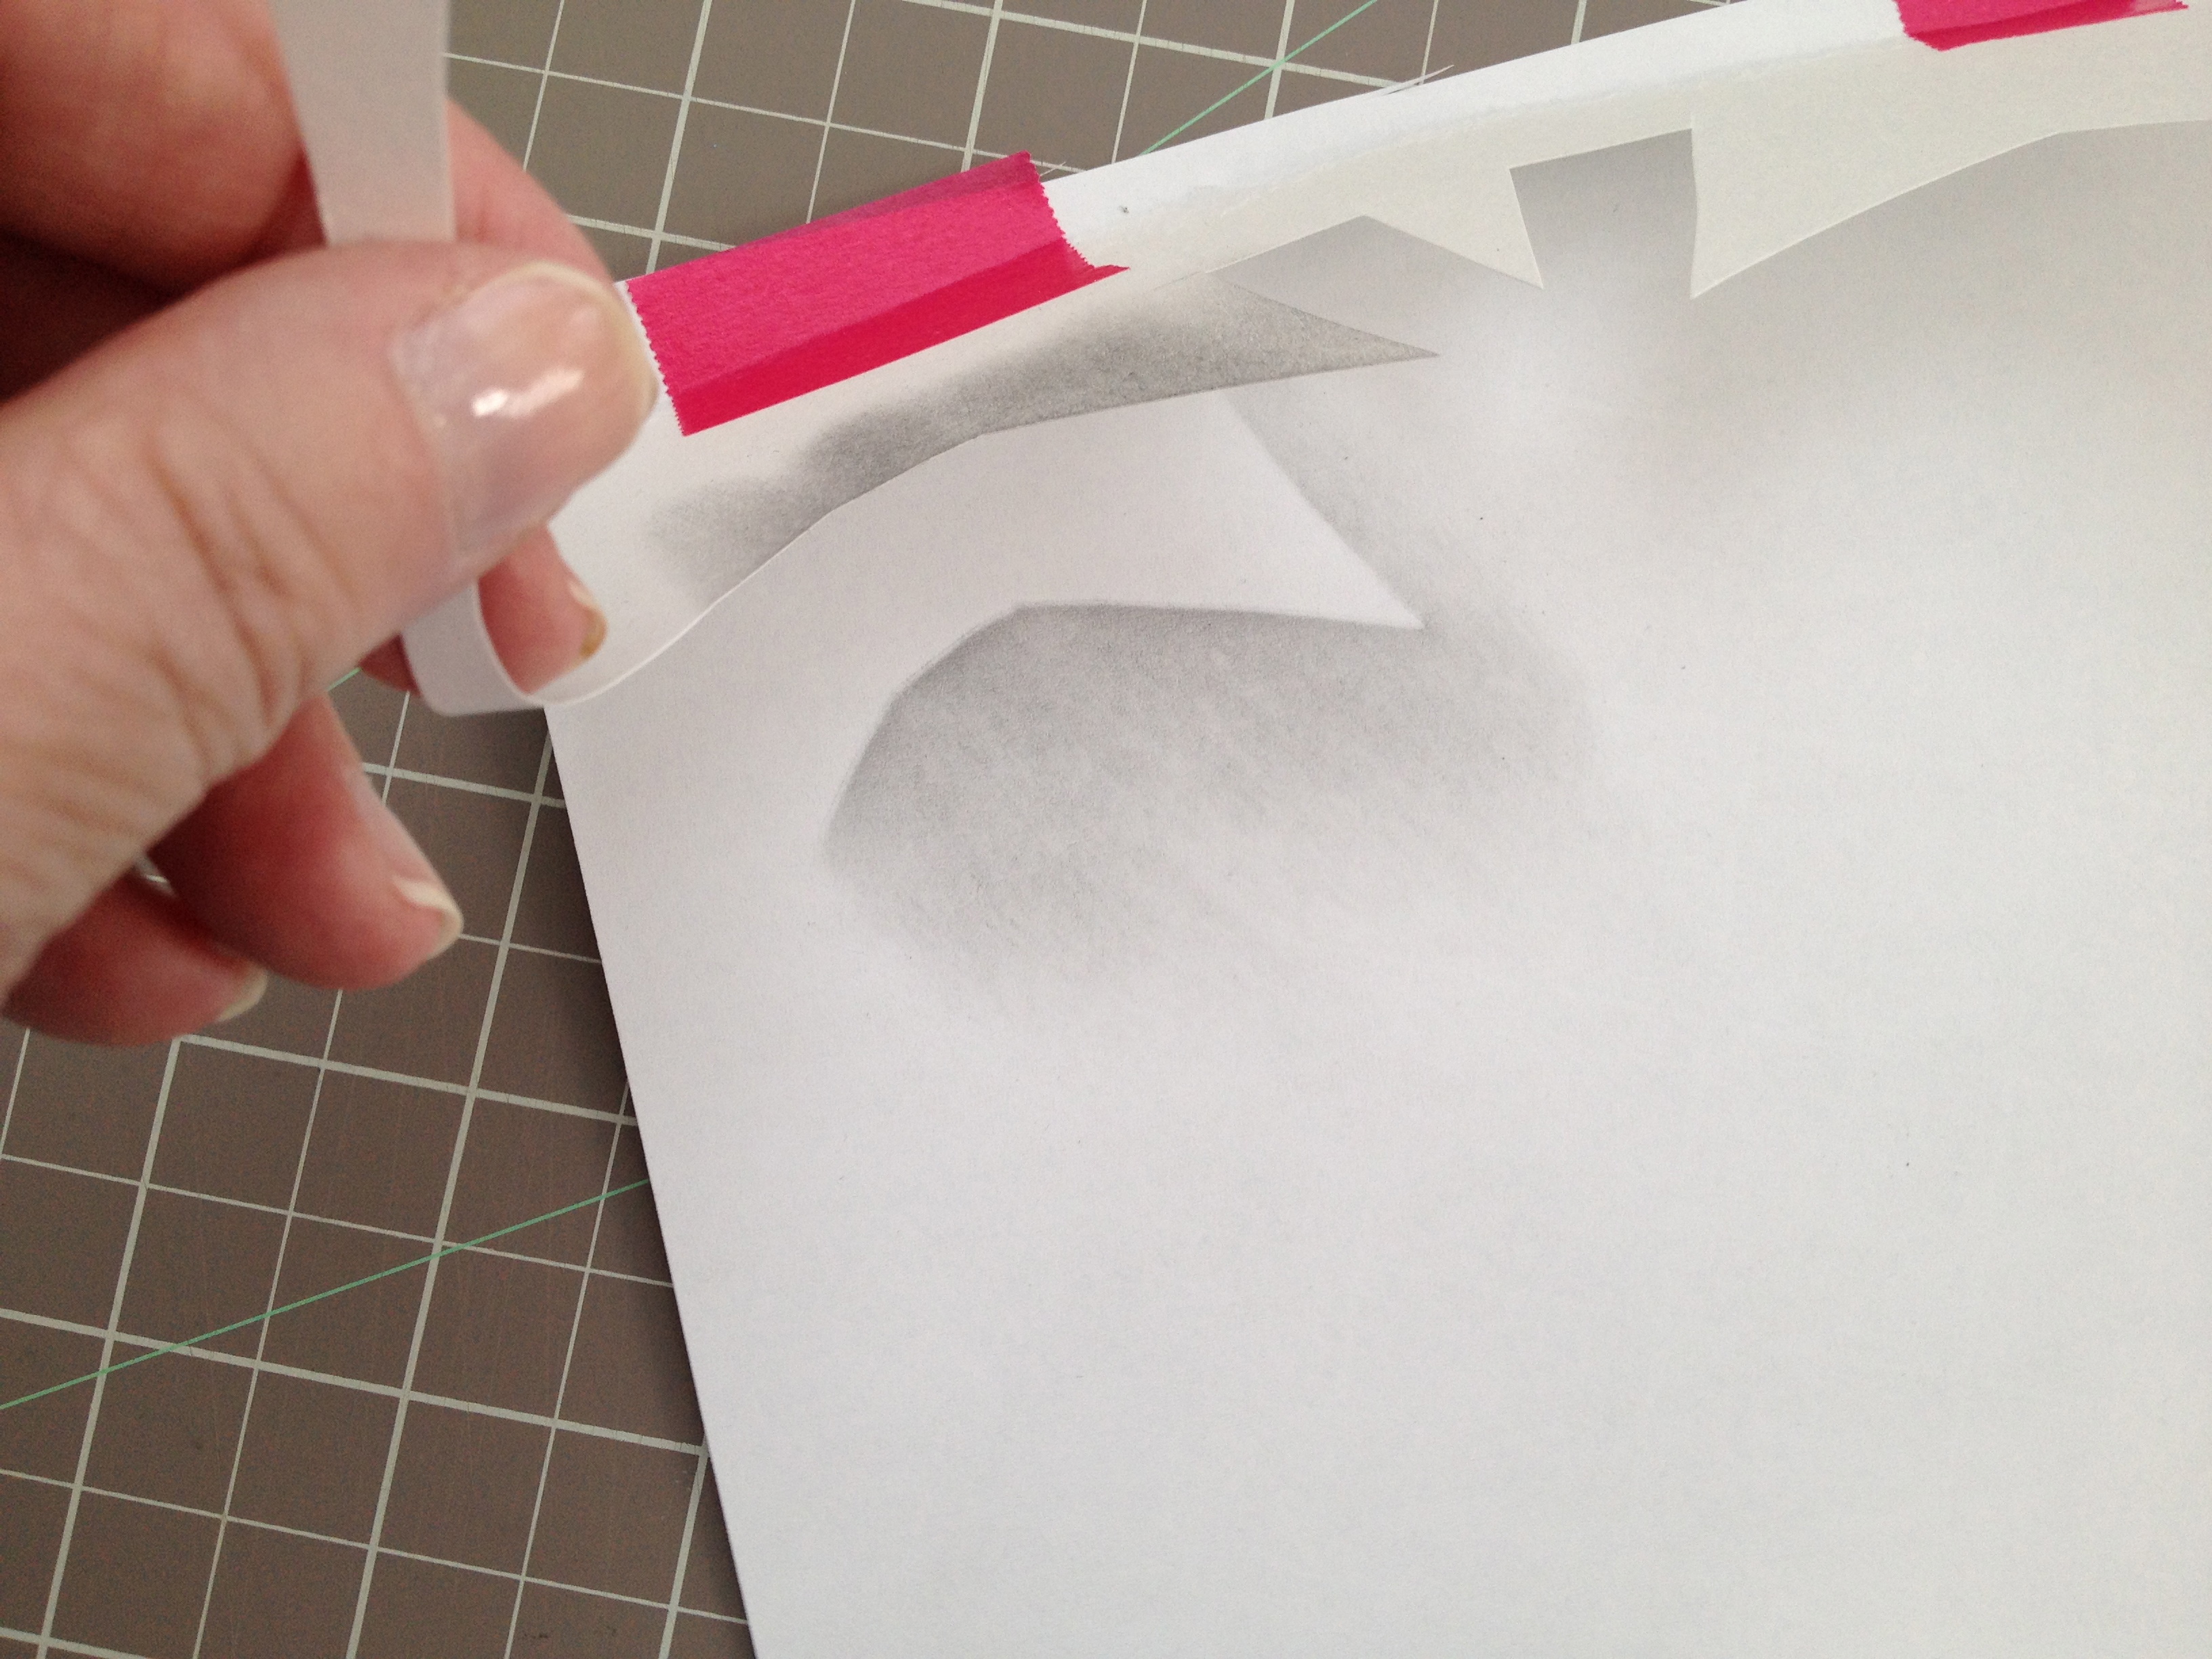
To begin, simply sit quietly, and begin to carefully and thoughtfully observe your surroundings. Let your eyes fall on something that pleases you or looks interesting. Then, working with whatever supplies you have on hand, like a pencil and a sheet of copy paper, begin to sketch what you see in front of you. Go slowly and let your eyes move over the surface or surfaces of whatever you are looking at, and just draw one bit at a time. Really concentrate on that you actually see in front of you, and not what your mind tells you is there. When done right, this type of drawing really puts you in the present moment and blocks out other thoughts. As you work, give yourself permission to move from subject to subject without the pressure of producing finished, photorealistic drawings. Just think of it as a chance to see and explore shapes, lines, textures and colors.

As soon as you’ve tried this yourself, and maybe even without having to try it, the important and profound benefits of such an activity for children are obvious. Students who are regularly involved in this type of simple drawing experience will:

  • improve their ability to focus for extended periods of time
  • increase their observation skills
  • engage in authentic critical thinking and problem solving
  • develop small muscle coordination in the hand, wrist, and arm
  • experience increased confidence in their own drawing skills
  • develop an appreciation of art produced by others

So as July turns into August, and a teacher’s thoughts inevitably turn toward the upcoming school year, consider “slowing down” your students for short periods of time with some simple observational sketching. The benefits for them will be well worth it.

OLYMPUS DIGITAL CAMERA

It’s beginning to feel a lot like fall here in Northern California where I live. Finally! If leaves are changing and dropping where you live, this is a perfect time to collect a few and introduce your students to the idea of texture rubbings.

After almost 20 years of teaching, I’m constantly surprised by how many children, from first grade through high school, have NEVER created a texture rubbing! This art experience couldn’t be any easier, and the results will most certainly surprise and delight.

All you need to successfully complete this experience is some plain white copy paper, crayons (broken into small-ish chunks with their paper “labels” peeled off), and some leaves. (Of course you can do this with any small items that have an interesting texture, but it’s particularly fun with leaves this time of year.)

Place a leaf on the surface of your table or desk, then place your sheet of paper on top of that. Holding your paper firmly in place, use your crayon on its SIDE (not the point) and carefully rub the crayon over your paper. Gradually the image of your leaf will begin to appear on your paper as if by magic! No matter how many times you do this, it’s still pretty neat!

Explore layering on different colors, and using multiple leaves to create an interesting composition.

OLYMPUS DIGITAL CAMERA

These look amazing displayed in a classroom, library, cafeteria, office or hallway. This easy art experience is a fun and exciting way to bring a little bit of fall inside. Try it! Your students will love it!

If you’re a teacher or homeschooler looking for some affordable and convenient professional development, head on over here and check out my courses offered through Fresno Pacific University. (No previous art experience necessary or required!)

IMG_3112As we move squarely into summer… have you made your professional development plans yet? I’m here to tell you that it’s not too late! Register today for one or more of my affordable, convenient, and self-paced art courses through Fresno Pacific University, and your materials will be delivered via email within 48 hours — which means you can get started on your class right away if you’d like to. But don’t fret if the summer slips away from you before you finish the class, because you have one year from your registration date to complete your work. These classes fit into YOUR life and schedule.

The registration process is easy! Just click here for a complete list of my classes. Absolutely no art experience or training is required. You’ll have fun making art following the step-by-step lesson plans, plus you’ll love learning how easy it is to connect art to other subjects in your curriculum.

I can’t wait to “see” you in class!

IMG_2812So my calendar tells me that today is “National Teacher Day”, but if you’re like me, I’m guessing you don’t spend just one day a year thinking about the teachers who’ve made a difference in your life.

In my long educational journey, two teachers stand out above the rest, Mr. Funk, my sixth grade teacher, and Fraulein Koopman, my high school German teacher, and I think about both of them often.  These two people helped shape the person — and the teacher — I’ve become, in ways too numerous to mention. So often in the midst of my daily life, some nugget of wisdom or bit of life philosophy will rise to the surface of my mind, making me smile and think of them. Today especially, I’m thinking of them both, and honoring them in my heart.

And what about the people in our lives who don’t actually teach for a living… but who have been important teachers for us nonetheless? I’m thinking about them today, too.

If you haven’t already done so, why not take just a moment to remember a special teacher, and think about the unique richness they brought to your life. While reflecting on the qualities that made him or her so dear to you, think about your own career as a teacher. Are you the kind of educator your students will remember? I, for one, hope I am.

OLYMPUS DIGITAL CAMERAStudents taking my professional development courses often ask me how to evaluate and grade artwork that their students have made. Unlike other curricular areas such as math or history, art is a subject that doesn’t result in answers that can be marked “right” or “wrong”, so how should a teacher go about grading it? The answer — in my opinion — is easier than you might think.

When I’m evaluating student artwork, I focus mainly on two things: their effort and their involvement.

Where art is concerned, people tend to get caught up in what the finished piece (or outcome) “looks like”, rather than the quality of the process that got them there. Differences in art exposure and experience will produce vastly different outcomes between students, so that hardly seems an equitable approach to evaluation. For example, as a trained artist, how my final art piece compares to the work of someone who has never held a paint brush doesn’t make sense. But EVERYONE can demonstrate a high level of effort and involvement when creating art, and I believe this is the key.

Rather than “getting the right answer” — in the form of a finished piece that looks a certain way — I believe that authentic art experiences should encourage exploration of subject matter and materials. Sometimes this exploration results in an end product that is expected and satisfying to the maker and the viewer… sometimes not. But both should be valued as creative growth and as successful.

With older students in particular, I often list requirements or expectations for a given art experience. This lets the students know in very specific terms what techniques and/or materials I expect them to use during their work. When such a list is part of the assignment, then naturally the use — or omission — of them becomes part of my evaluation process. If a required element is not explored or included, that counts “against” the grade. This circles back to my original premise of evaluating effort and involvement, because if a student hasn’t attempted the requirements, they clearly haven’t demonstrated their full effort, nor have they been fully involved in the assignment.

An example came up this week with a professional development student of mine submitting photos and an evaluation to me of an art lesson she taught to her own students. Of one student’s work she remarked, “His piece ended up just looking like a lot of black on the paper, rather than distinct lines.” Nevertheless, she included that piece in the display, and I applauded her for that. What I said back to her was that for that particular student, his process of drawing the lines — though he did it over and over again until his work was a mass of black — was a more important exploration and experience, than of having a final piece that looked a certain way. Did he demonstrate effort in the creation of his piece? Yes! He took the process of drawing lines so far that they became indistinguishable from one another. Was this student involved in the process? Absolutely! And do I love his teacher for not getting “hung up” on what his final piece looked like, and for accepting his creative effort and involvement for what it was? You better believe it!

If you have questions or thoughts about this topic, please share them in the comments section. If you’re looking for some fun, affordable, and convenient professional development credits, click here to find out more about the distance learning art classes I teach. (No previous art experience is necessary — but your full effort and involvement will be!) Thanks for reading.  😉

Best AngelI recently received some encouragement from a friend of mine about my blog. Her comments were simple… that she enjoyed reading my posts, that they made her want to teach, and that she thought I was really doing an excellent job. It was her next words that struck me… she said, “I just had to tell you”.

I’d been feeling a little uninspired about my blog, and my friend’s encouraging words, plus the fact that she “just had to tell me” gave my heart such a lift! Not only was my friend enjoying my efforts, but she felt compelled to tell me about it and actually acted on it. Needless to say, her thoughtful words motivated me.

This is an important lesson for us as teachers — not to mention as human beings — but as teachers most especially. We have the power EVERY DAY in our classrooms to lift our students up with meaningful, authentic words of encouragement. Perhaps more than any curriculum we teach, the ability to encourage our students is a gift that should not be overlooked. Our words may be just the thing to help a struggling student have the courage to try something — once again — that has been challenging for them in the past.

In the realm of art education, the idea of encouragement is especially profound. Since art is an area of the curriculum where expressions are highly personal, making oneself vulnerable can be very scary to say the least. Supportive encouragement given throughout the artistic process can provide a safe place for creative thinking and exploration. (Which is not to say “anything goes”, or minimal effort is acceptable, but when an honest effort is being made, it should be recognized regardless of whether or not the final outcome is “successful”.)

So I leave you with the challenge to look for simple, meaningful ways you can frequently share the gift of encouragement with your students. I also wish to thank my dear friend for her gift of encouraging words to me.  🙂

IMG_2684Congratulations to Juliet Z. from Ohio! Juliet is the lucky winner of the last Art Kit I’m giving away as part of a year long promotion. She received her automatic entry into this giveaway by registering for my class ART 900: Drawing Magic.  You can read more about all of the Professional Development classes I offer here.

Juliet will be receiving not only her Art Kit stuffed with fun art goodies, but also a lesson plan developed specifically to use with them. Click here to see the full Art Kit contents. It’s been a fun year giving away these kits… thanks to everyone who played along.  🙂

Though the kits are gone… I’d still love to have YOU register for one of my Professional Development art classes. (No art experience required!) Each of my 5 classes is affordable, convenient, and self-paced. Imagine earning 3 units of graduate credit per class from the comfort of your own home, with full access to me via email. Your course materials will be delivered to you electronically within 48 hours of your registration, so you can begin immediately if you’d like to. What are you waiting for? (You know it sounds like fun!) Hope to see you soon!

IMG_2617Hello March! Even if the weather doesn’t quite feel like spring yet where you live, you know it’s just around the corner. And for teachers… that can only mean one thing: Spring Break! And just beyond that: Summer!

Why not take a moment now to plan some fun professional development experiences for yourself to begin over spring break, or to look forward to over the summer? What?! You don’t think of earning professional development credits as something you might “look forward” to? Well click here and prepare to think about professional development in a whole new way!

Each of the five distance-learning art courses I teach through Fresno Pacific University is affordable, convenient, self-paced and — best of all — fun! No previous art experience is required, but if you have some, I promise there’s something in these courses for you, too. You’ll also love the fact that no special, “exotic” art materials are required. But don’t just take my word for it, check out the student reviews for each course. (Click here for a list of all of my classes. Once there, click on the title of any class to read its description, download the syllabus, and/or read student reviews.)

Registration is easy, and if you enter promo code W11402JGF, you will save $10 off per course. Once I’ve been notified by the University of your registration, I’ll send you a “Welcome” email with your course book attached within 48 hours. It’s that simple! (And don’t forget FUN!) You can email me any time with questions, so it’s like I’m right there with you, cheering you on. Your personal art coach! 🙂 And really, with course names like, “Drawing Magic” and “The Magic of Paper“… what’s not to enjoy?!

Together we can make your vacation time fun and productive! I look forward to “seeing” you in class soon.

IMG_2599Here’s a quick little art experience you might like to try with your students that will help them explore the differences between positive and negative shapes and space.

All you need are 3 sheets of white paper per student — even copy paper will do — some small pieces of scratch paper, pencils, and cotton balls or tissue.

To begin, ask your students to cut a shape out of their first sheet of paper. Depending on the age and ability levels of your students, the shapes can range from simple, free-form organic shapes, to something much more complex. You will want to have them cut out their shape so that when they are finished, they are left with two things: the shape itself that they cut out, and the outside edge of paper around what they cut out.

Have them place the paper that they have left over from cutting out their shape, on top of their second piece of paper. (You might want to have them tape the top and bottom pieces of paper together to prevent movement.) Using a pencil, have them rub a patch of lead onto a piece of scratch paper. Using a cotton ball or a tissue, have them pick up some of that pencil lead and begin to rub it from the outside edge of the paper toward the center open space left by the shape they cut out.

IMG_2601

Continue this process of rubbing pencil lead from the outside edge in toward the center, until they have filled the center with pencil shading. Carefully separate the two sheets of paper. What they are left with is a shaded image of their shape. This shaded shape is the “positive” image. If you were to peek under an edge while they worked, it would look like this:

IMG_2602

Next, ask your students to carefully position the actual shape they cut out on top of their third sheet of paper. (You might consider having your students place one or two tape loops underneath their shape to keep it from moving around.) Using the same pencil lead and cotton ball or tissue, this time you are going to ask your students to rub from the shape itself onto the paper below.

IMG_2603

Have them continue rubbing from their shape onto the paper underneath it until they have rubbed all the way around. Ask them to carefully separate the two pieces of paper, set their actual cut out shape aside, and what they will be left with is an image of their shape determined by the shading around the outside of it. This is the “negative” image of their shape. If you were to peek underneath their shape while they were working, it would look like this:

IMG_2604

Try this yourself first so you can see how easy and fun it is to do. Kids are always delighted by this experience because the results seem so magical!

Looking for more art lessons like this one to incorporate into your classroom curriculum? Check out my affordable, convenient, and self-paced Professional Development course offerings through Fresno Pacific University here. This particular lesson is part of my class called Drawing Magic.

IMG_2582I don’t know about you, but I feel like the USPS really outdid itself with the release of this heart stamp… just in time for mailing out your Valentines the old-school way.

Have you ever stopped to consider postage stamps as art? (I’ll wait while you consider it.) They’re like teeny-tiny little canvases hiding out in plain sight in the midst of our everyday lives! By calling attention to postage stamps, you begin to get your students thinking about the fact that someone has to design those stamps. Someone has to come up with an idea and then create the artwork that eventually becomes the stamp that gets printed and used by many, many people! (Talk about great exposure!)

Now consider having your students design their own postage stamps. The beauty of this art lesson is that the subject matter is virtually limitless, meaning you can connect it to any subject you are teaching! Learning about geography? Students design stamps based on geography! Reading a certain book? Students design stamps based on something related to that book! It’s Black History Month? Your students can design stamps based on someone they admire that you are currently studying! Learning the alphabet? Students design stamps based on the first letter of their names! It’s genius, right?!

IMG_2583Keep the materials simple for this lesson: A sheet of 9X12 inch drawing paper (plain white construction paper — or even 8.5X11 inch copy paper will do in a pinch) for each child, with two 3X4 inch rectangles on it. (Depending on the age and ability levels of your students, this could be a great opportunity for them to practice their measuring skills.) Then you just need some drawing tools… whatever you have on hand like crayons, colored pencils, and fine tip markers.

I would spend a few minutes talking with your students about postage stamps and maybe even have some actual stamps to show them. There is a tremendous variety so you won’t have any trouble finding some that they will be able to relate to and get excited about. For example, click here to see some wonderful Harry Potter themed stamps. (Be sure to put all samples away once your students begin designing their own.)

Tell them that you’re going to have them work about 4 times larger than an actual stamp, so they’ll have a nice big surface to decorate. (For the very young, you might want them to work even larger than the 3X4 inch rectangle suggested.)

Then talk about the subject matter you’d like them to use for their stamp designs. As mentioned above, your options are many here. In my experience, it’s best to decide ahead of time what the “theme” will be rather than telling them they can design “anything”. Sometimes having no restrictions becomes almost paralyzing, and trust me — you’ll still get a tremendous amount of variety within your theme. (Unless you say something very specific like, “Everyone design a stamp with George Washington on it.” You get the idea.)

IMG_2585Depending on how involved you want to get, when the stamp designs are finished, you can use a single hole punch to punch around the edges of the stamps to make realistic looking perforations, or you can use scissors with different edged blades to get a similar look. Still looking for more? How about having your students write something about their stamp design and why they did what they did? Or perhaps they can write a short piece about the subject of their stamp? Ask them to share what they’ve drawn and written with a neighbor or the whole class, and you’ve got some oral language thrown into the mix!

Have fun with this, and please share your results if you try it with your students. I’d love to see how it goes!