 It’s hard for me to believe that January 2014 is almost over, and I’m wondering if you feel the same way?
Believe it or not, Valentine’s Day is coming up fast, so I thought I’d share some easy-to-implement art lessons that would be lots of fun to do with your students. With a minimum of supplies and no art background or art teaching experience necessary, these lessons really are a must-try for virtually any grade level. (Just modify to best suit the age and ability levels of your students.)
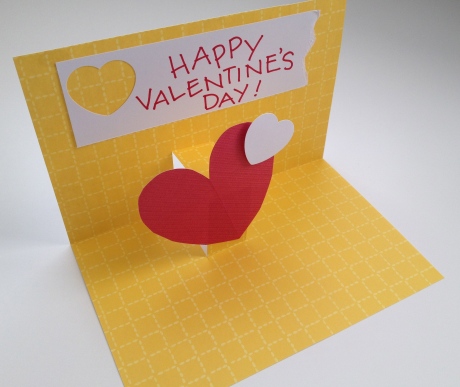
 The first one involves making little three-dimensional pop-up cards or books. If you have your students make cards, they would make wonderful gifts to people in retirement homes, senior citizen residences, or even hospitals in your community. And what about servicemen and women? Think how much a handmade card of caring and gratitude would mean to them. The real-world connections here to language arts and social studies are both meaningful and profound. Making little pop-up books would be fun too, it just depends on how involved you want to get. You can read all about this fun lesson here.
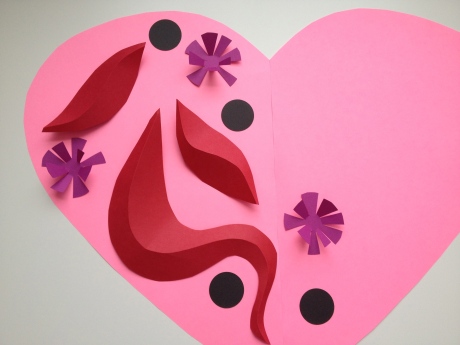
 The next lesson idea takes you step-by-simple-step through the creation of Giant Stuffed Paper Hearts, and you can get all the details in a previous post by clicking here. Not only will the resulting hearts make fabulous decorations for your classroom, school site or even district office if they’re so inclined to let you decorate, but you will have helped the environment by cleaning up trash or by recycling paper that might otherwise have ended up in a landfill.
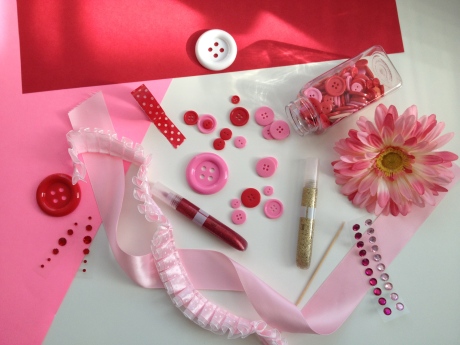
 And finally, how about having your students create some fun little Valentine heart bouquets? Read all about this lesson here. Again, these would be perfect for your students to make for someone special. This could be one of the community groups mentioned above, someone at your school site, their student buddies, or even someone at home. In my experience, students LOVE making things to give away and will likely extend even more effort than usual on a piece that they know will be a gift, so be sure to determine the recipient(s) ahead of time and let your students know who they’re creating their artwork for. The excitement this generates is inspiring! Have fun with these, and let me know how it goes. I’d love to hear about it if you use one or more of these lesson ideas in your classroom.


