For many of us, creating something is much easier with some sort of visual reference. Whether we’re making a drawing, a painting, or a sculpture, having something in front of us to look at helps us get the details right. It helps us with things like proportion, texture, pattern, and color. Here are a few easy suggestions that will help you establish a valuable set of image files that your students can use again and again when they need a visual reference. Why the need for such files you ask? Well, if one is drawing a rose, for example, it’s not too difficult to simply bring one into the classroom. The same holds true for any number of fruits, vegetables, and small objects. But what if your students are trying to draw or sculpt say, an elephant, or a particular type of fish? Not so easy. Enter the image file.
My suggestion to you is that you create a series of files filled with photographs that your students can reference as needed. I want to be very specific here about saying that your images files should contain only photographs — not drawings or paintings of things. The problem with using drawings or paintings of things as a reference is that someone else has already made all of the decisions about color, line, texture, etc. When you have your students work from photographs, they must decide how to interpret the “reality” of that photo into their work. This involves a tremendous amount of observation and problem solving skills that are essential to student growth and learning.
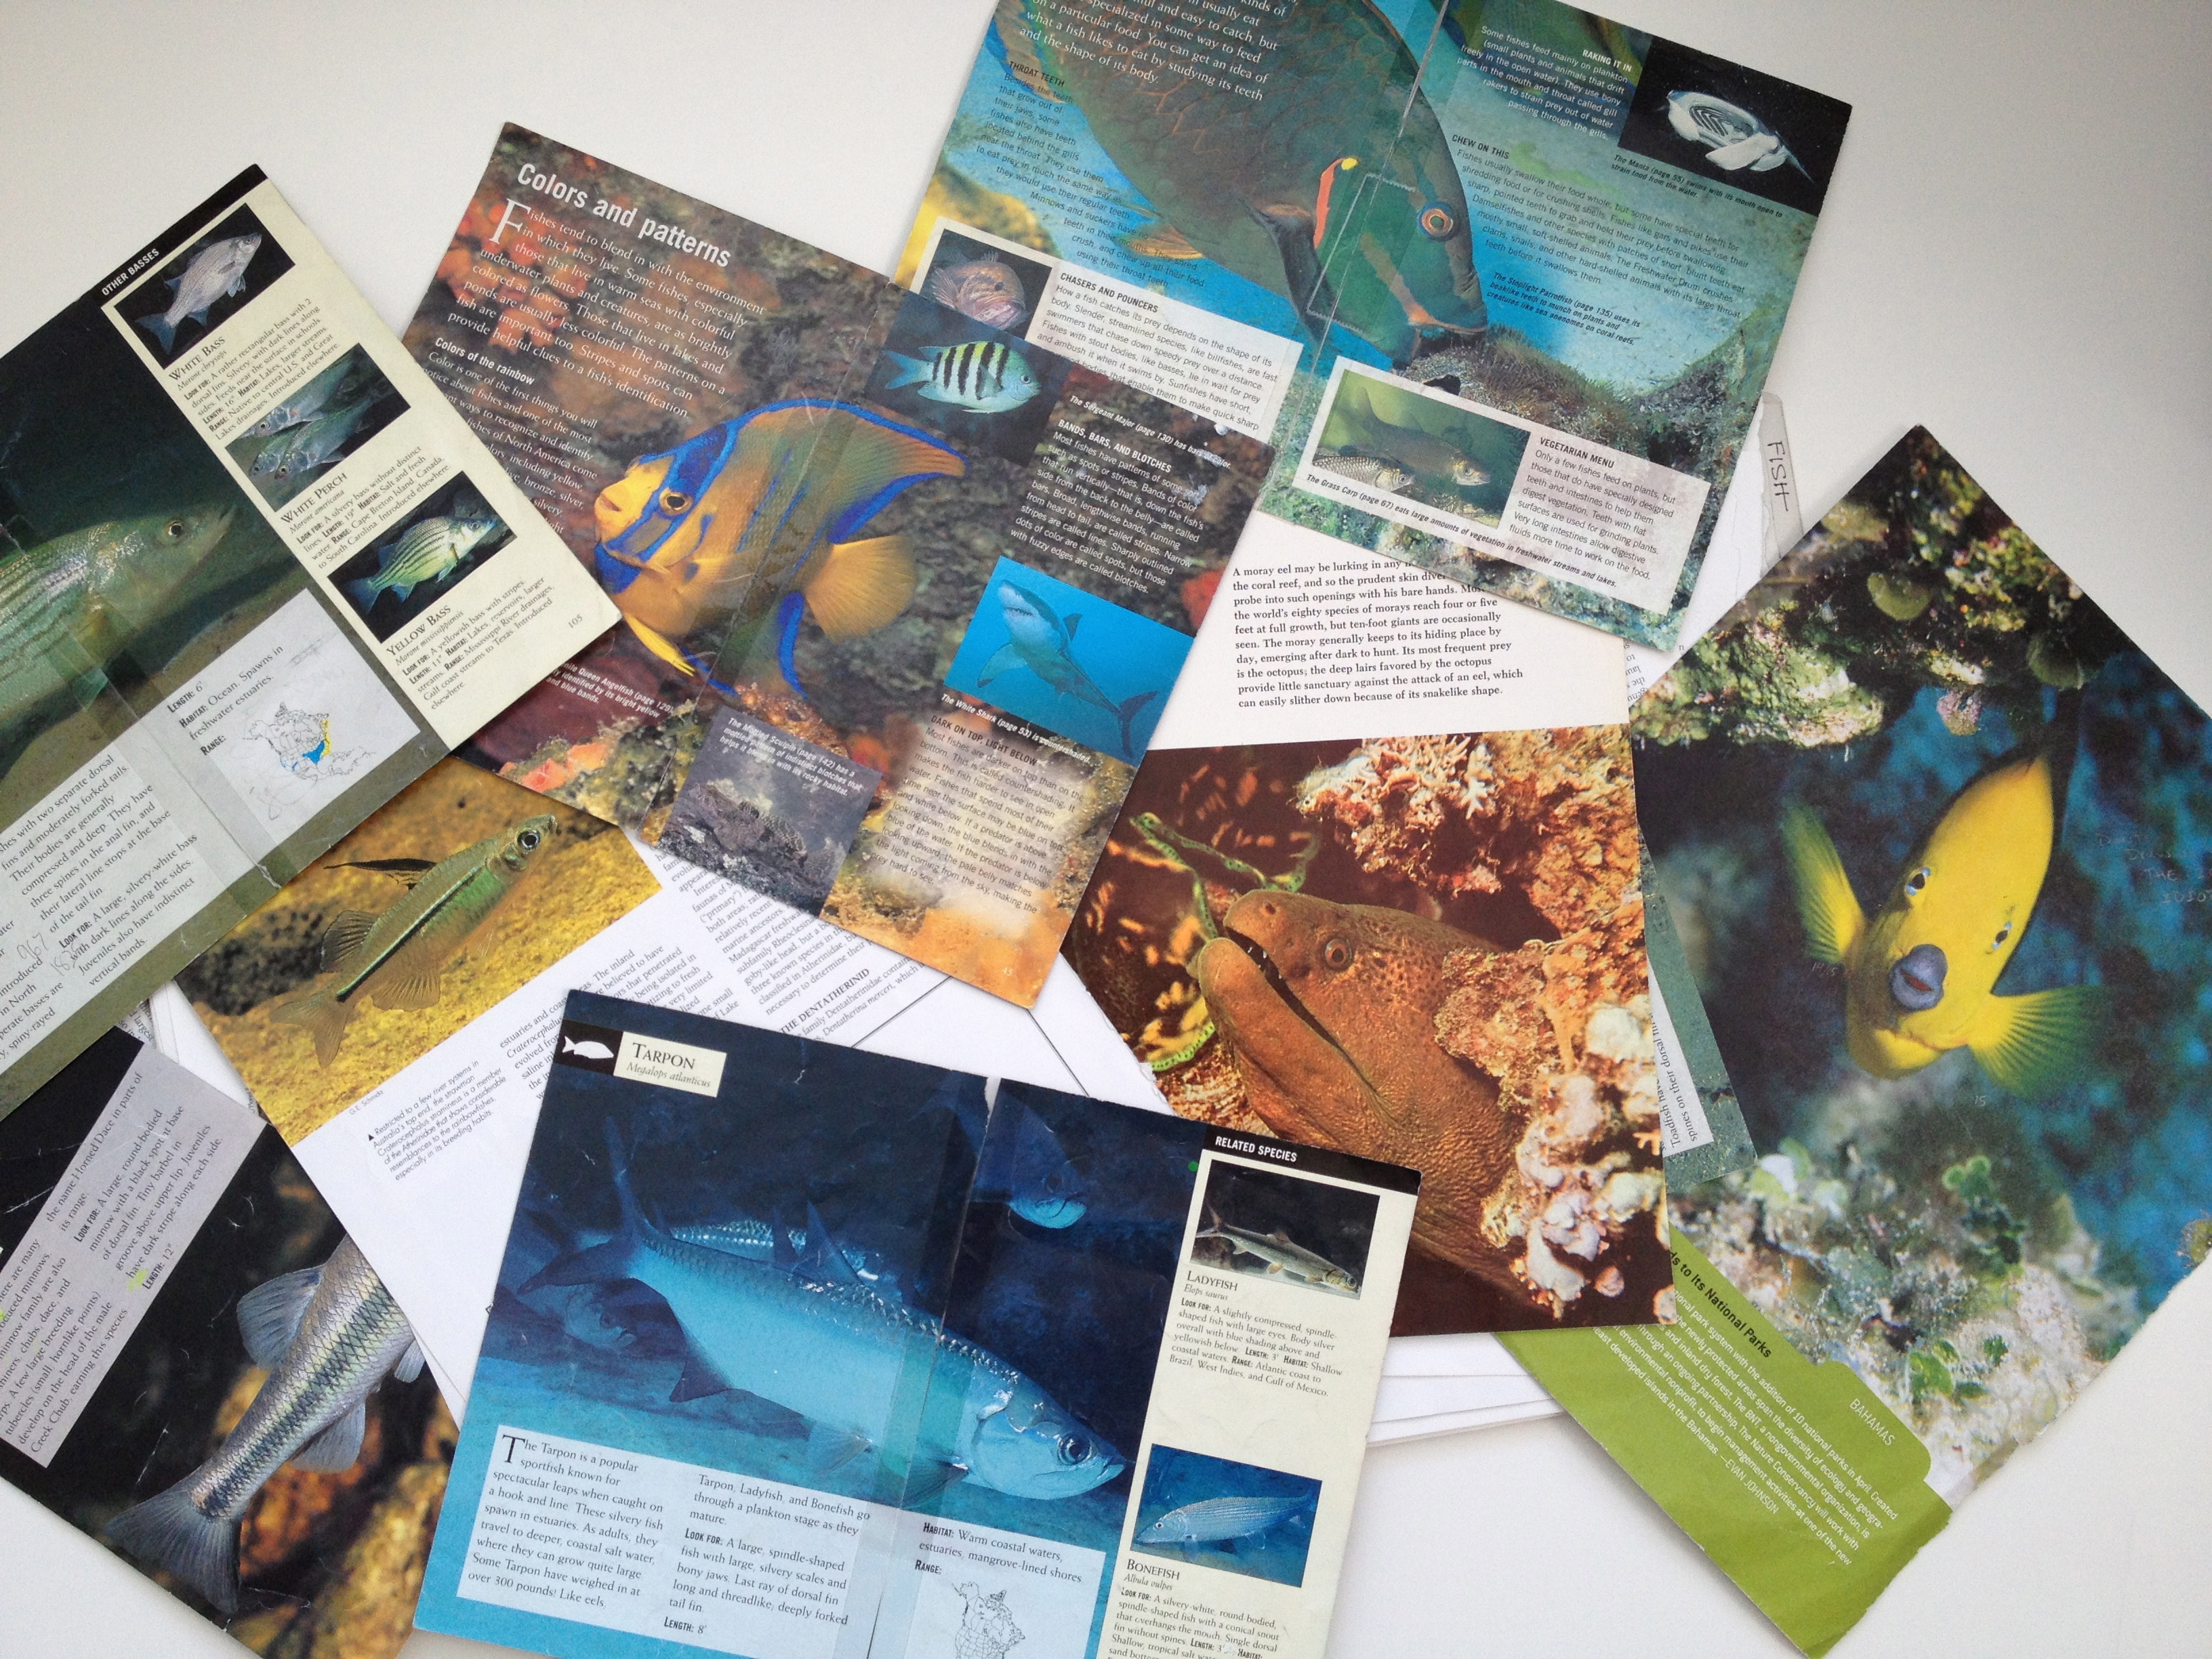
For my own classroom files, I purchased some very inexpensive books of photographs of whatever I was looking for. (Yard sales can be a fantastic source!) Because having an entire classroom of students share one book is not practical, I simply tore the pages out of the books I collected. (As a lover of books, this was kind of hard to do at first, but I persevered and it worked so well, I never looked back.) I used hanging file folders to store these now single sheets of photos, and labeled them by category such as, insects, fish, mammals, reptiles, birds, flowers, etc. (Often these photos also have an accompanying paragraph about whatever is in the photo, which I find to be a real bonus as far as student learning is concerned.) Once these files are established, it’s simply a matter of pulling them out when you need them. So for example, if you’re working on an art project that involves reptiles, you simply bring out the reptile file and you’re all set. If only one topic is being used, I simply spread out that file’s contents on a table for students to peruse. If we’re using multiple subjects, I place the files we’re using in a small hanging file container someplace where the students can look through them.
When I initially set up my image files, the internet was not something we had access to in classrooms. And while it might be tempting to let students search for images on the computer, I would advise against it. In my experience, students will make a selection from this type of photo file within a minute or two of looking over the photographs. How long do you imagine they might look on the internet…?
Trust me that after only a small initial investment of time and money on your part, you will end up with files that will serve you well for years. You won’t be able to imagine how you ever lived without them!
Need other ideas for great art experiences YOU can do in your classroom or with your homeschooled kids? Check out my affordable and convenient professional development courses here. You can register at any time for my distance learning classes, and best of all, you complete them on your schedule. I hope to “see” you in class soon!

 In my last post, I talked about the importance of having images available to your students for use as visual references when having the real thing in front of them just isn’t possible or practical. Today I’d like to help four lucky people get started on the creation of their own image files by giving away some beautiful National Audubon Society field guide books. (These books are brand new and cost about $20 each.) Each of these books is full of gorgeous, full color photographs that will make excellent reference images for any artist. Each book is focused on a different subject group — one for reptiles & amphibians, one for mammals, another entitled fishes, and finally one for insects & spiders. The pages measure about 3.5 X 7.5 inches, so if you tear them out as I suggested in my blog post, they will fit neatly into a file folder for easy retrieval and distribution later.