
 Whether you include Easter images and symbols in your curriculum or not, this lesson can easily become a part of your spring art experiences. A few simple modifications in presentation and expectations will allow you to teach this as an “Easter Bunny”, or simply a fun, “Spring Bunny”. Either way, these large, torn paper bunnies will add a breath of fresh, spring air to your classroom decor, and your students will have a wonderfully creative time making them. Think your students are “too old” for this type of experience? Why not have them create bunnies for younger student buddies? (I’ve gotta say it… they’d be “Bunny Buddies”!) Or maybe they could make these and you’d donate them to a hospital or senior citizen center where I’m sure they’d be welcomed as decorations. Trust me — the “big kids” like to play too — you just need to spin it so they feel their sense of “coolness” is still intact! 😉
Here’s what you’ll need: White construction paper or white drawing paper in fairly large sheets. (At least 12×18 inches.) Butcher paper will work too if that’s all you have on hand. Small scraps of pink, black, and gray construction paper. Paste, glue, glue sticks, or rubber cement — whatever adhesive you have on hand and like your students to use. Scissors.
Talk with your students about spring, rabbits, and Easter — if it’s appropriate and allowed in your classroom situation. Help them to see that by tearing the paper, a softer, more “bunny-like” quality in the edges is possible. Contrast this with cutting, which would produce a sharper, harder edge. You might slowly tear a random piece of paper, and then cut off another part of that paper to actually show students the difference. (Introduction or reinforcement of the vocabulary word “texture” is perfect here.) Demonstrate and emphasize the process of c-a-r-e-f-u-l tearing, as opposed to ripping, to get the desired shape.
Have your students work on each part separately. For example, you might say, “Let’s first think about a head for our bunny. What do you think it would look like? Round? Square? Football shaped? Ok, now let’s all carefully tear out a head.” Next, ask them something like, “What do you think we need to add to make the head shape look more like a bunny?” (Ears.) Have them tear out two ears. Do they have to be the same shape and size? No. Can they be? Yes. Can one be floppy and one be straight? Yes. Encourage them to work large, and to explore ways to give their bunny individuality and personality. Continue with this approach for all of the remaining parts: neck, body, front legs, back legs, feet, and tail.
During this process I find I can avoid potential problems and frustrations by saying something like, “I’m not giving out prizes to the person who needs to keep starting over the most… but if you’d like to tear something out again, place the piece you don’t want in our scrap box, and get another piece of paper to try again.” This releases the pressure for them of, “OH NO! What if I don’t like what I make?!” They know they can try again and it’s not a big deal. Additionally, it lets them know that your expectation is that they won’t need to make every piece over again several times. I’ve had great success with this approach at all grade levels.
After all body parts have been made, tell the students not to paste or glue anything down yet, but first place all the parts where they think they’d like them to go on their desks so they can see what it will look like and they can make any changes they may want to make. Once satisfied, they can paste or glue everything together.
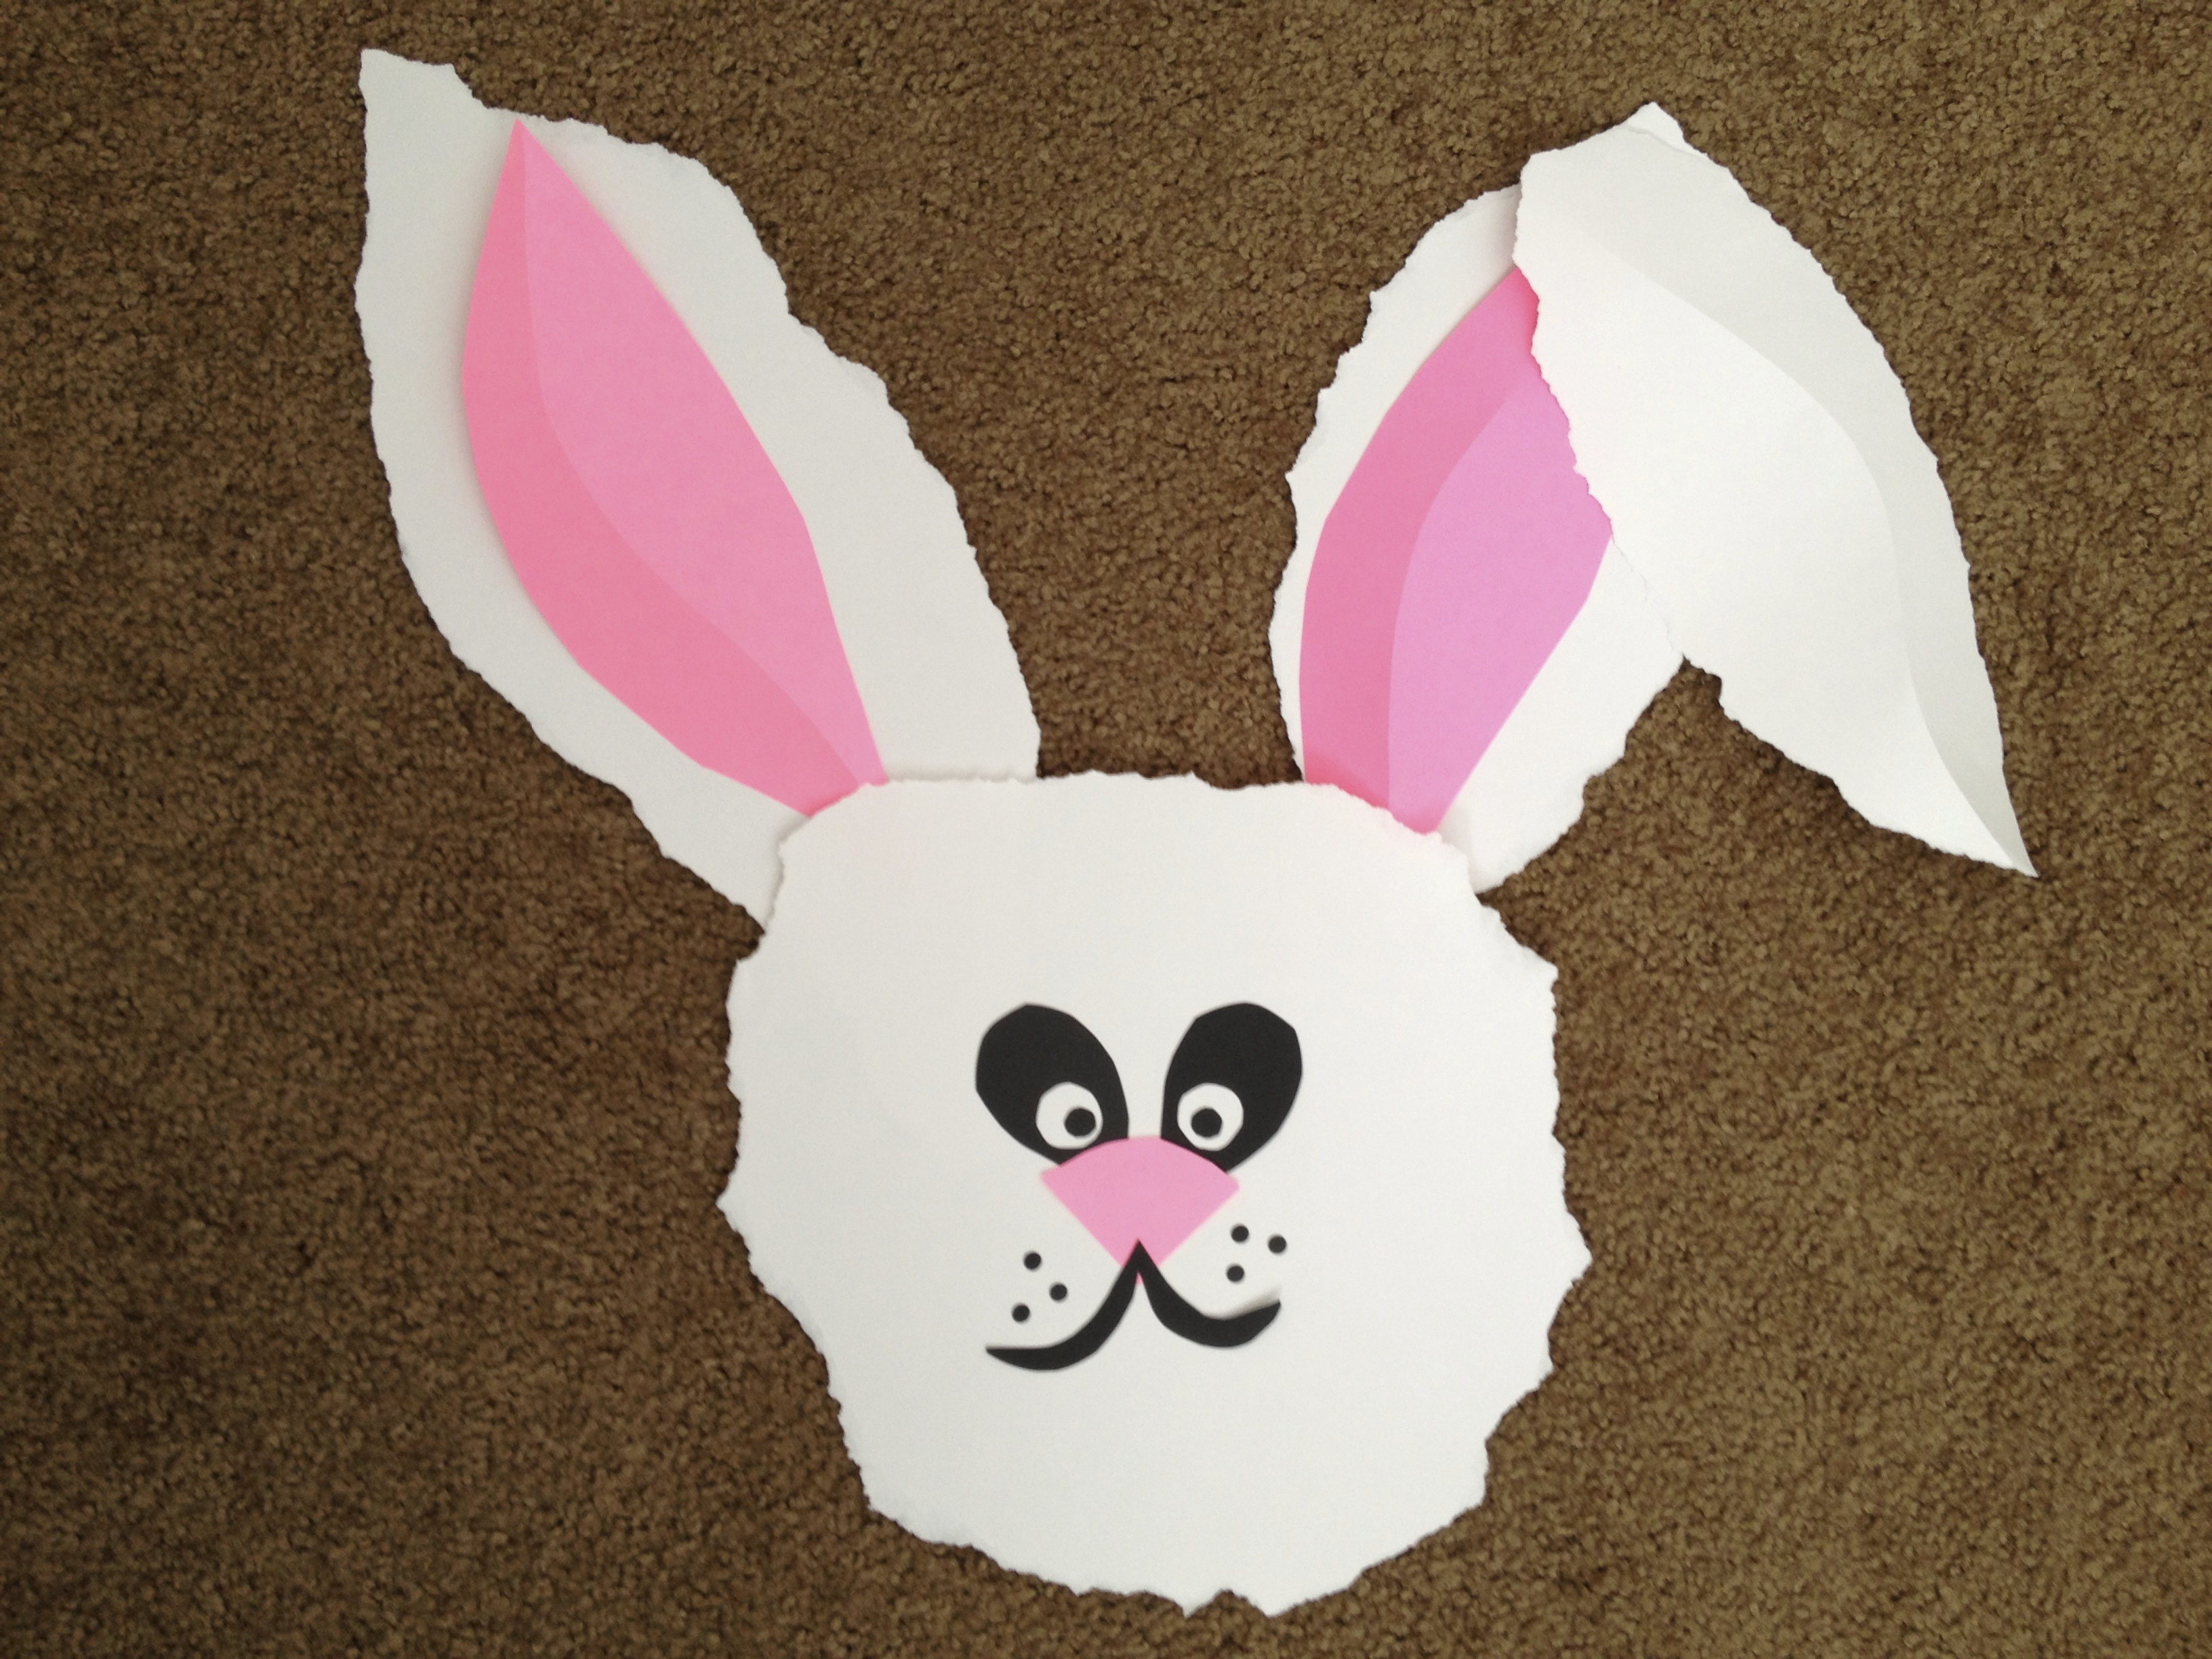
At this point, you can give the kids small scraps of pink, black, and grey paper as they might want to make eyes, noses, whiskers, insides of ears, etc. (Use scissors here if desired.) I would suggest waiting to glue all of this down just like before. Have the kids place everything where they want it first, and once they are satisfied with it, they can glue or paste these items in place.
If all goes as planned, you should end up with a spectacular variety of torn paper bunnies each with it’s own unique characteristics and personality. Should you have the time and inclination, enrich this art experience even more by adding a written language arts component by having students write a story about their bunny, and/or an oral language component by having students share their stores aloud or simply describe their bunny to classmates. A journal entry about the process would also be a worthwhile extension.
